
My “52 In 22” Cooking Challenge Has A Birthday To Celebrate!
As those who are following this year-long series know, my wife Alex suggested I pick a new cookbook each week to make a recipe from , every week for all of 2022 – hence the “52 In 22” cooking challenge – and her request came back to haunt her!
Here is the stack I set out for weeks #11-20:
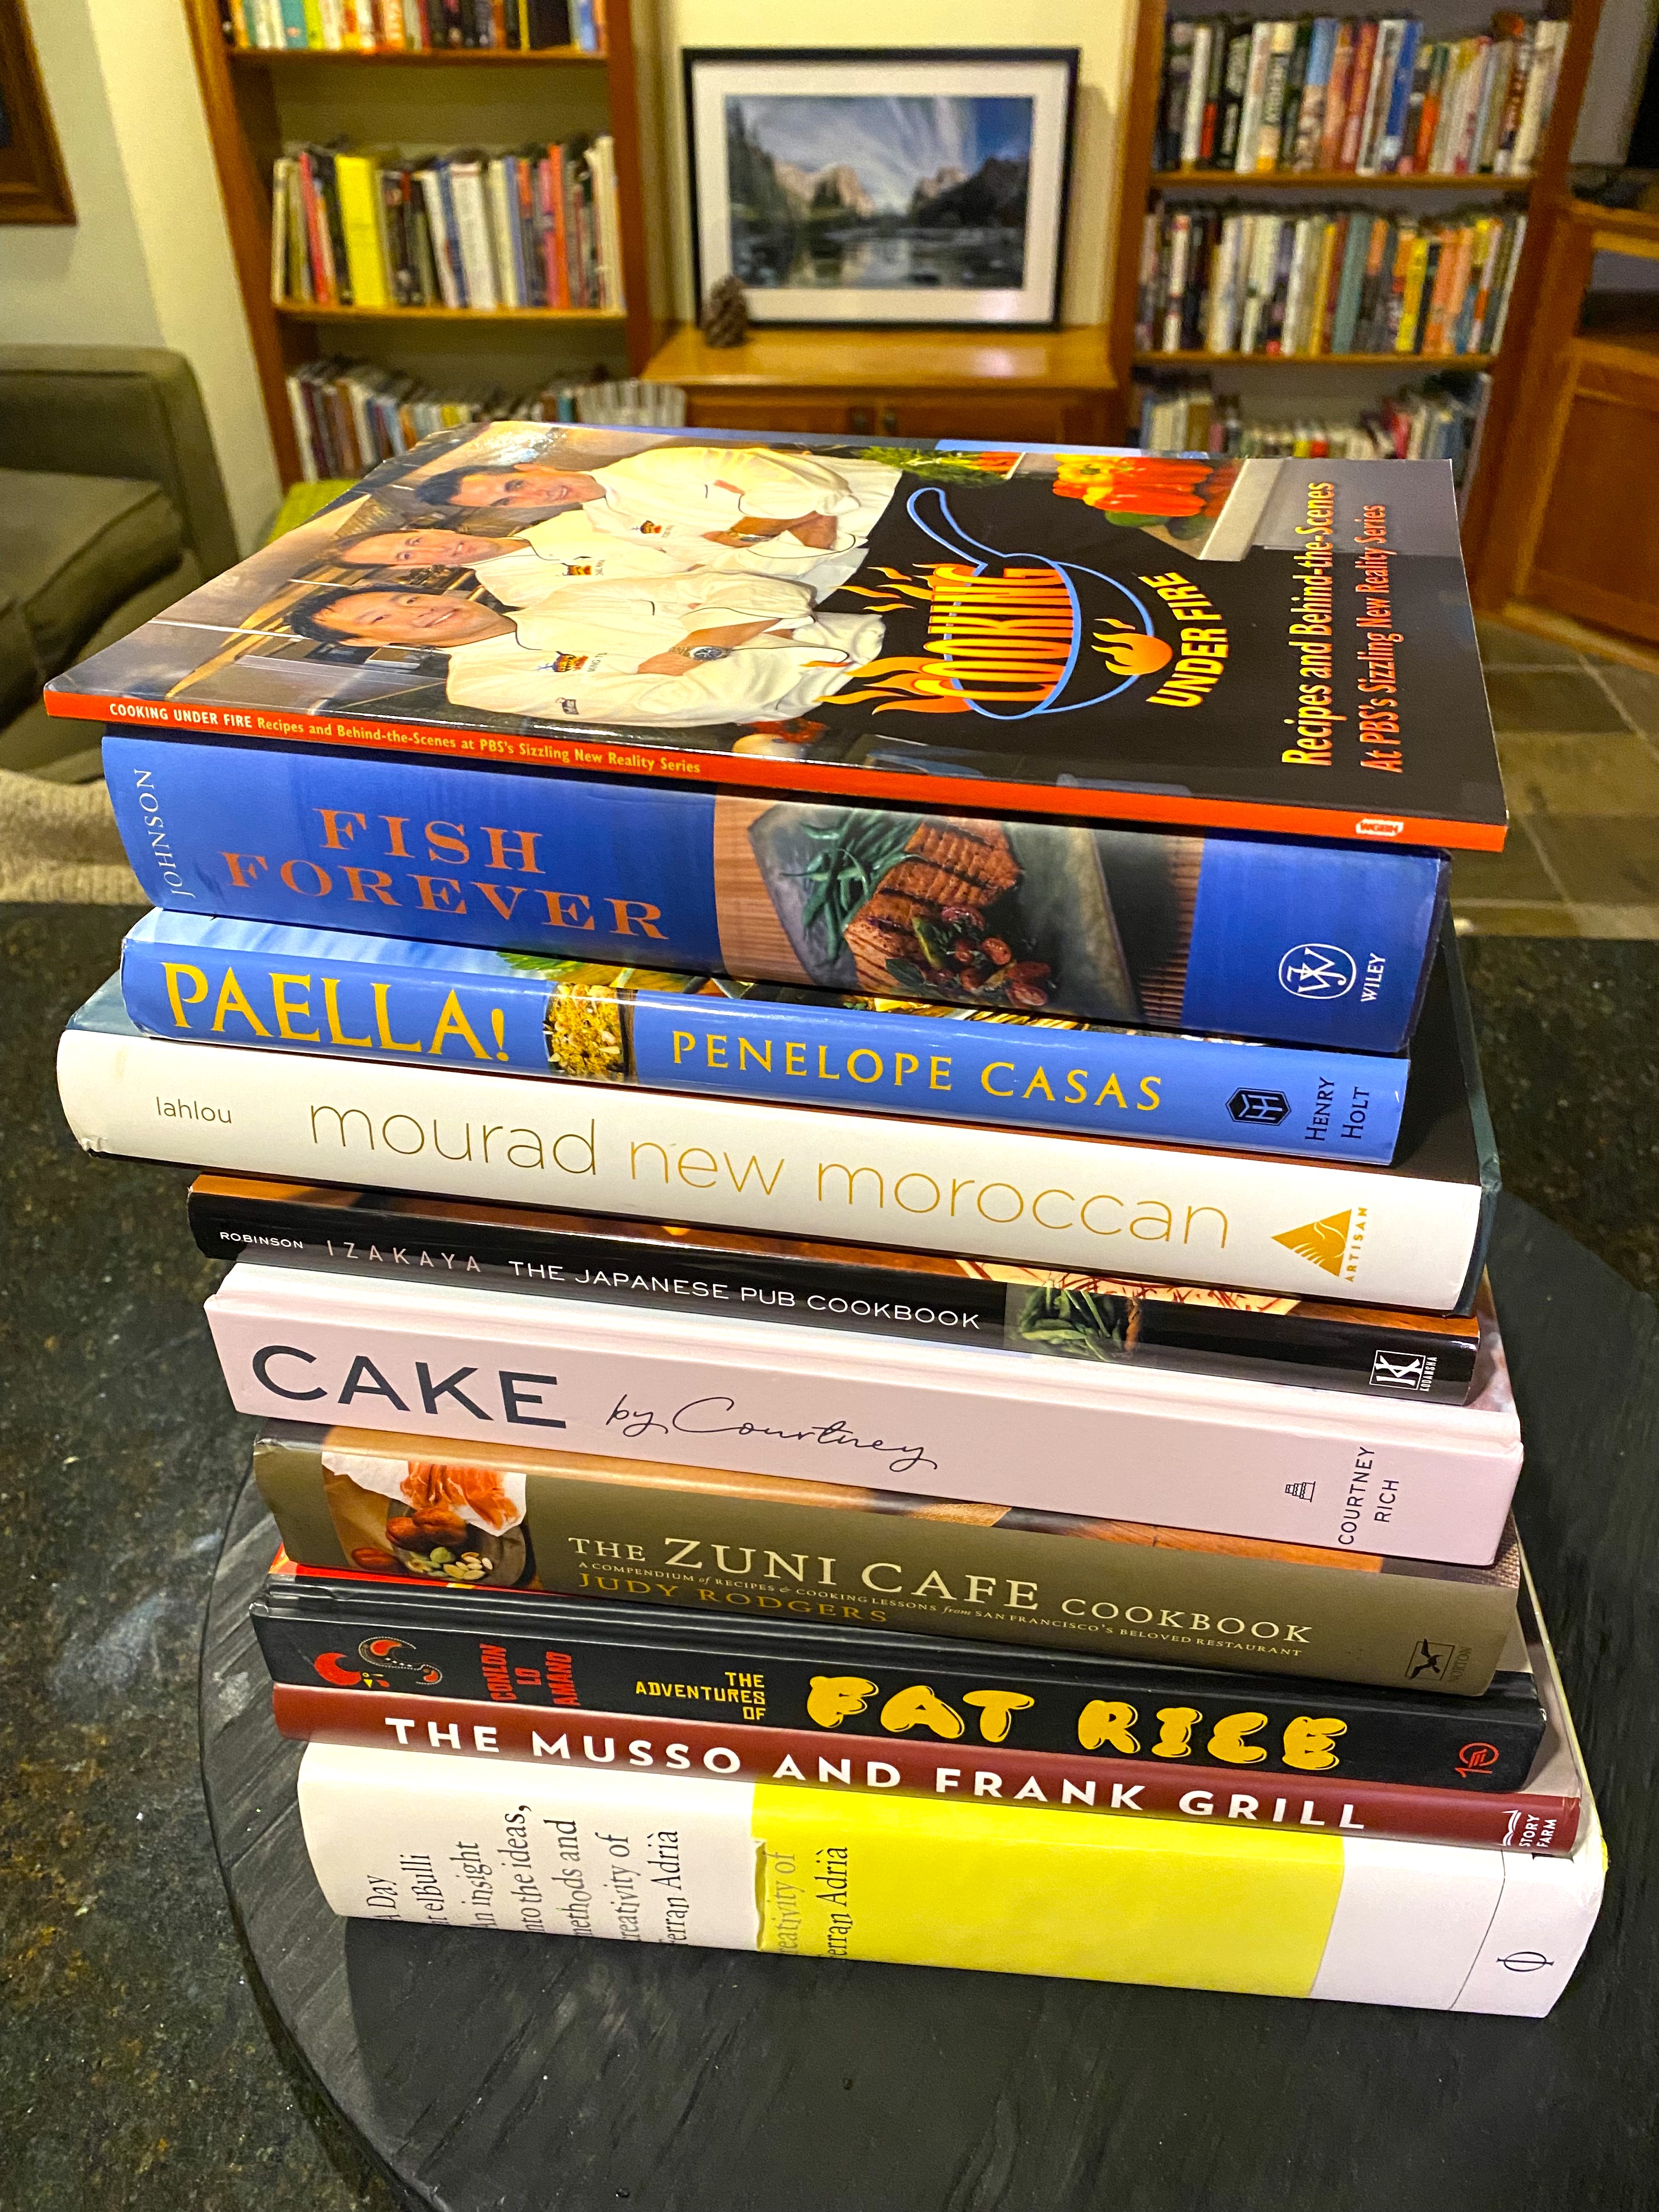
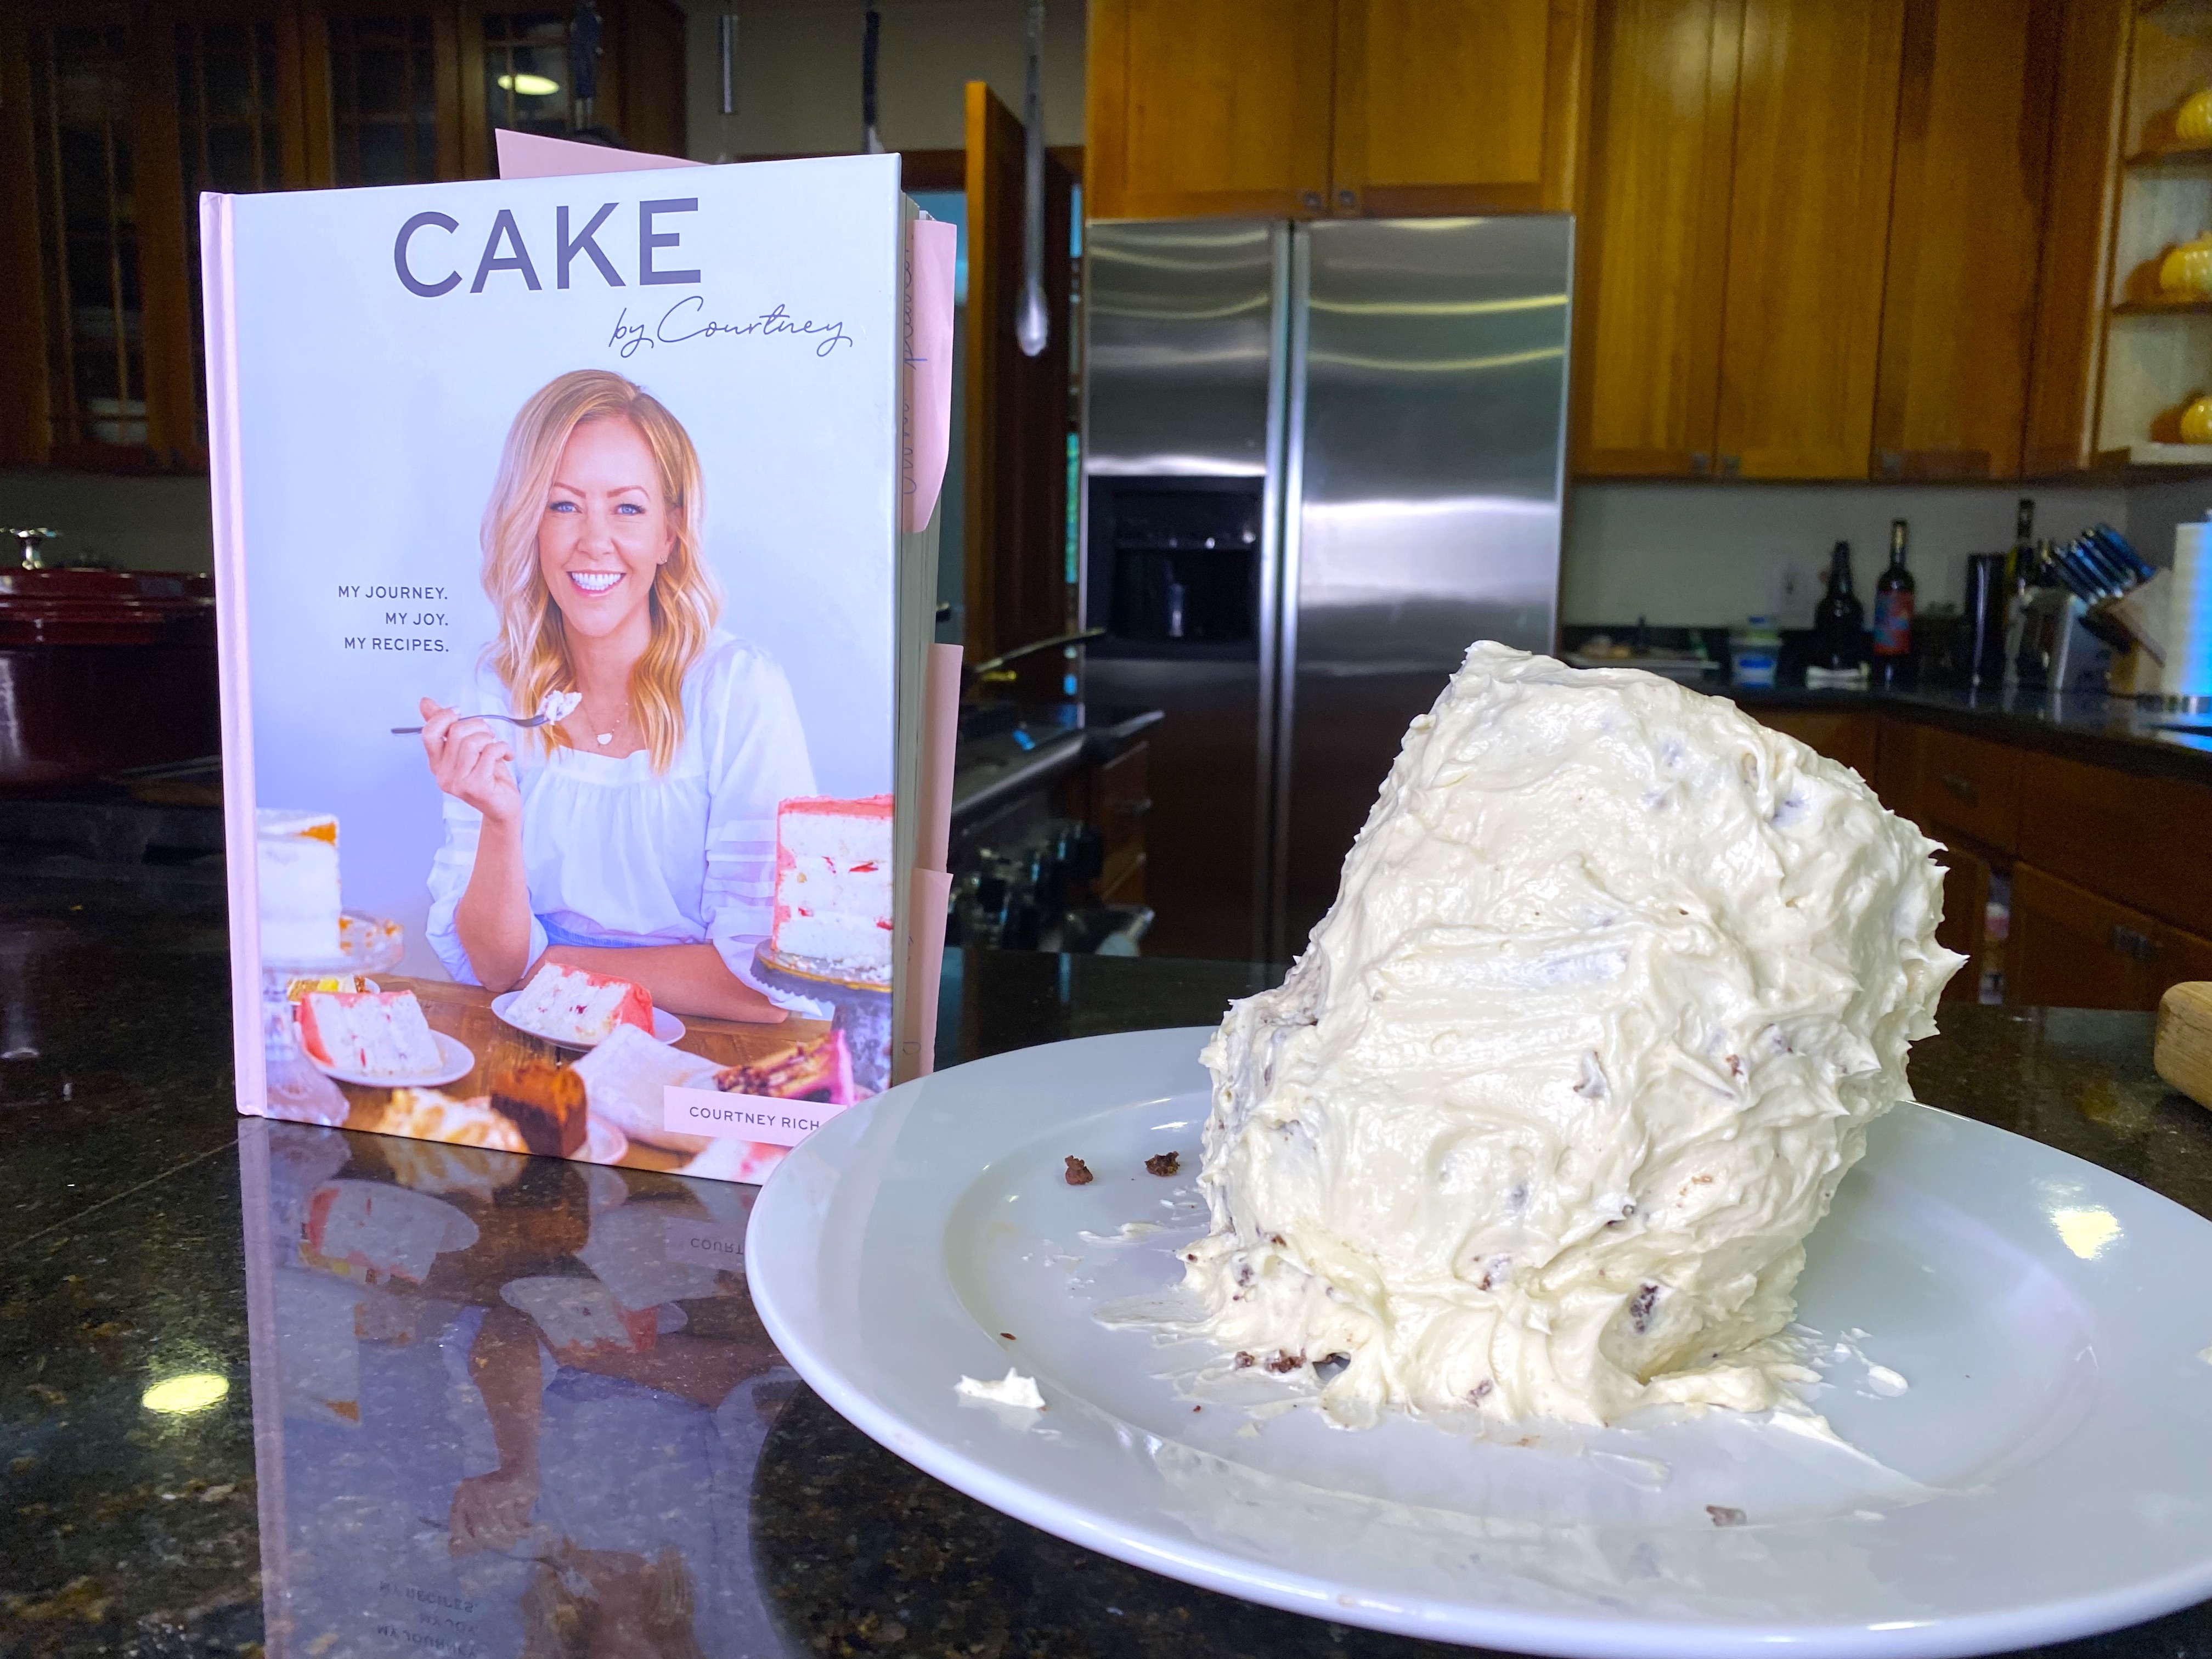
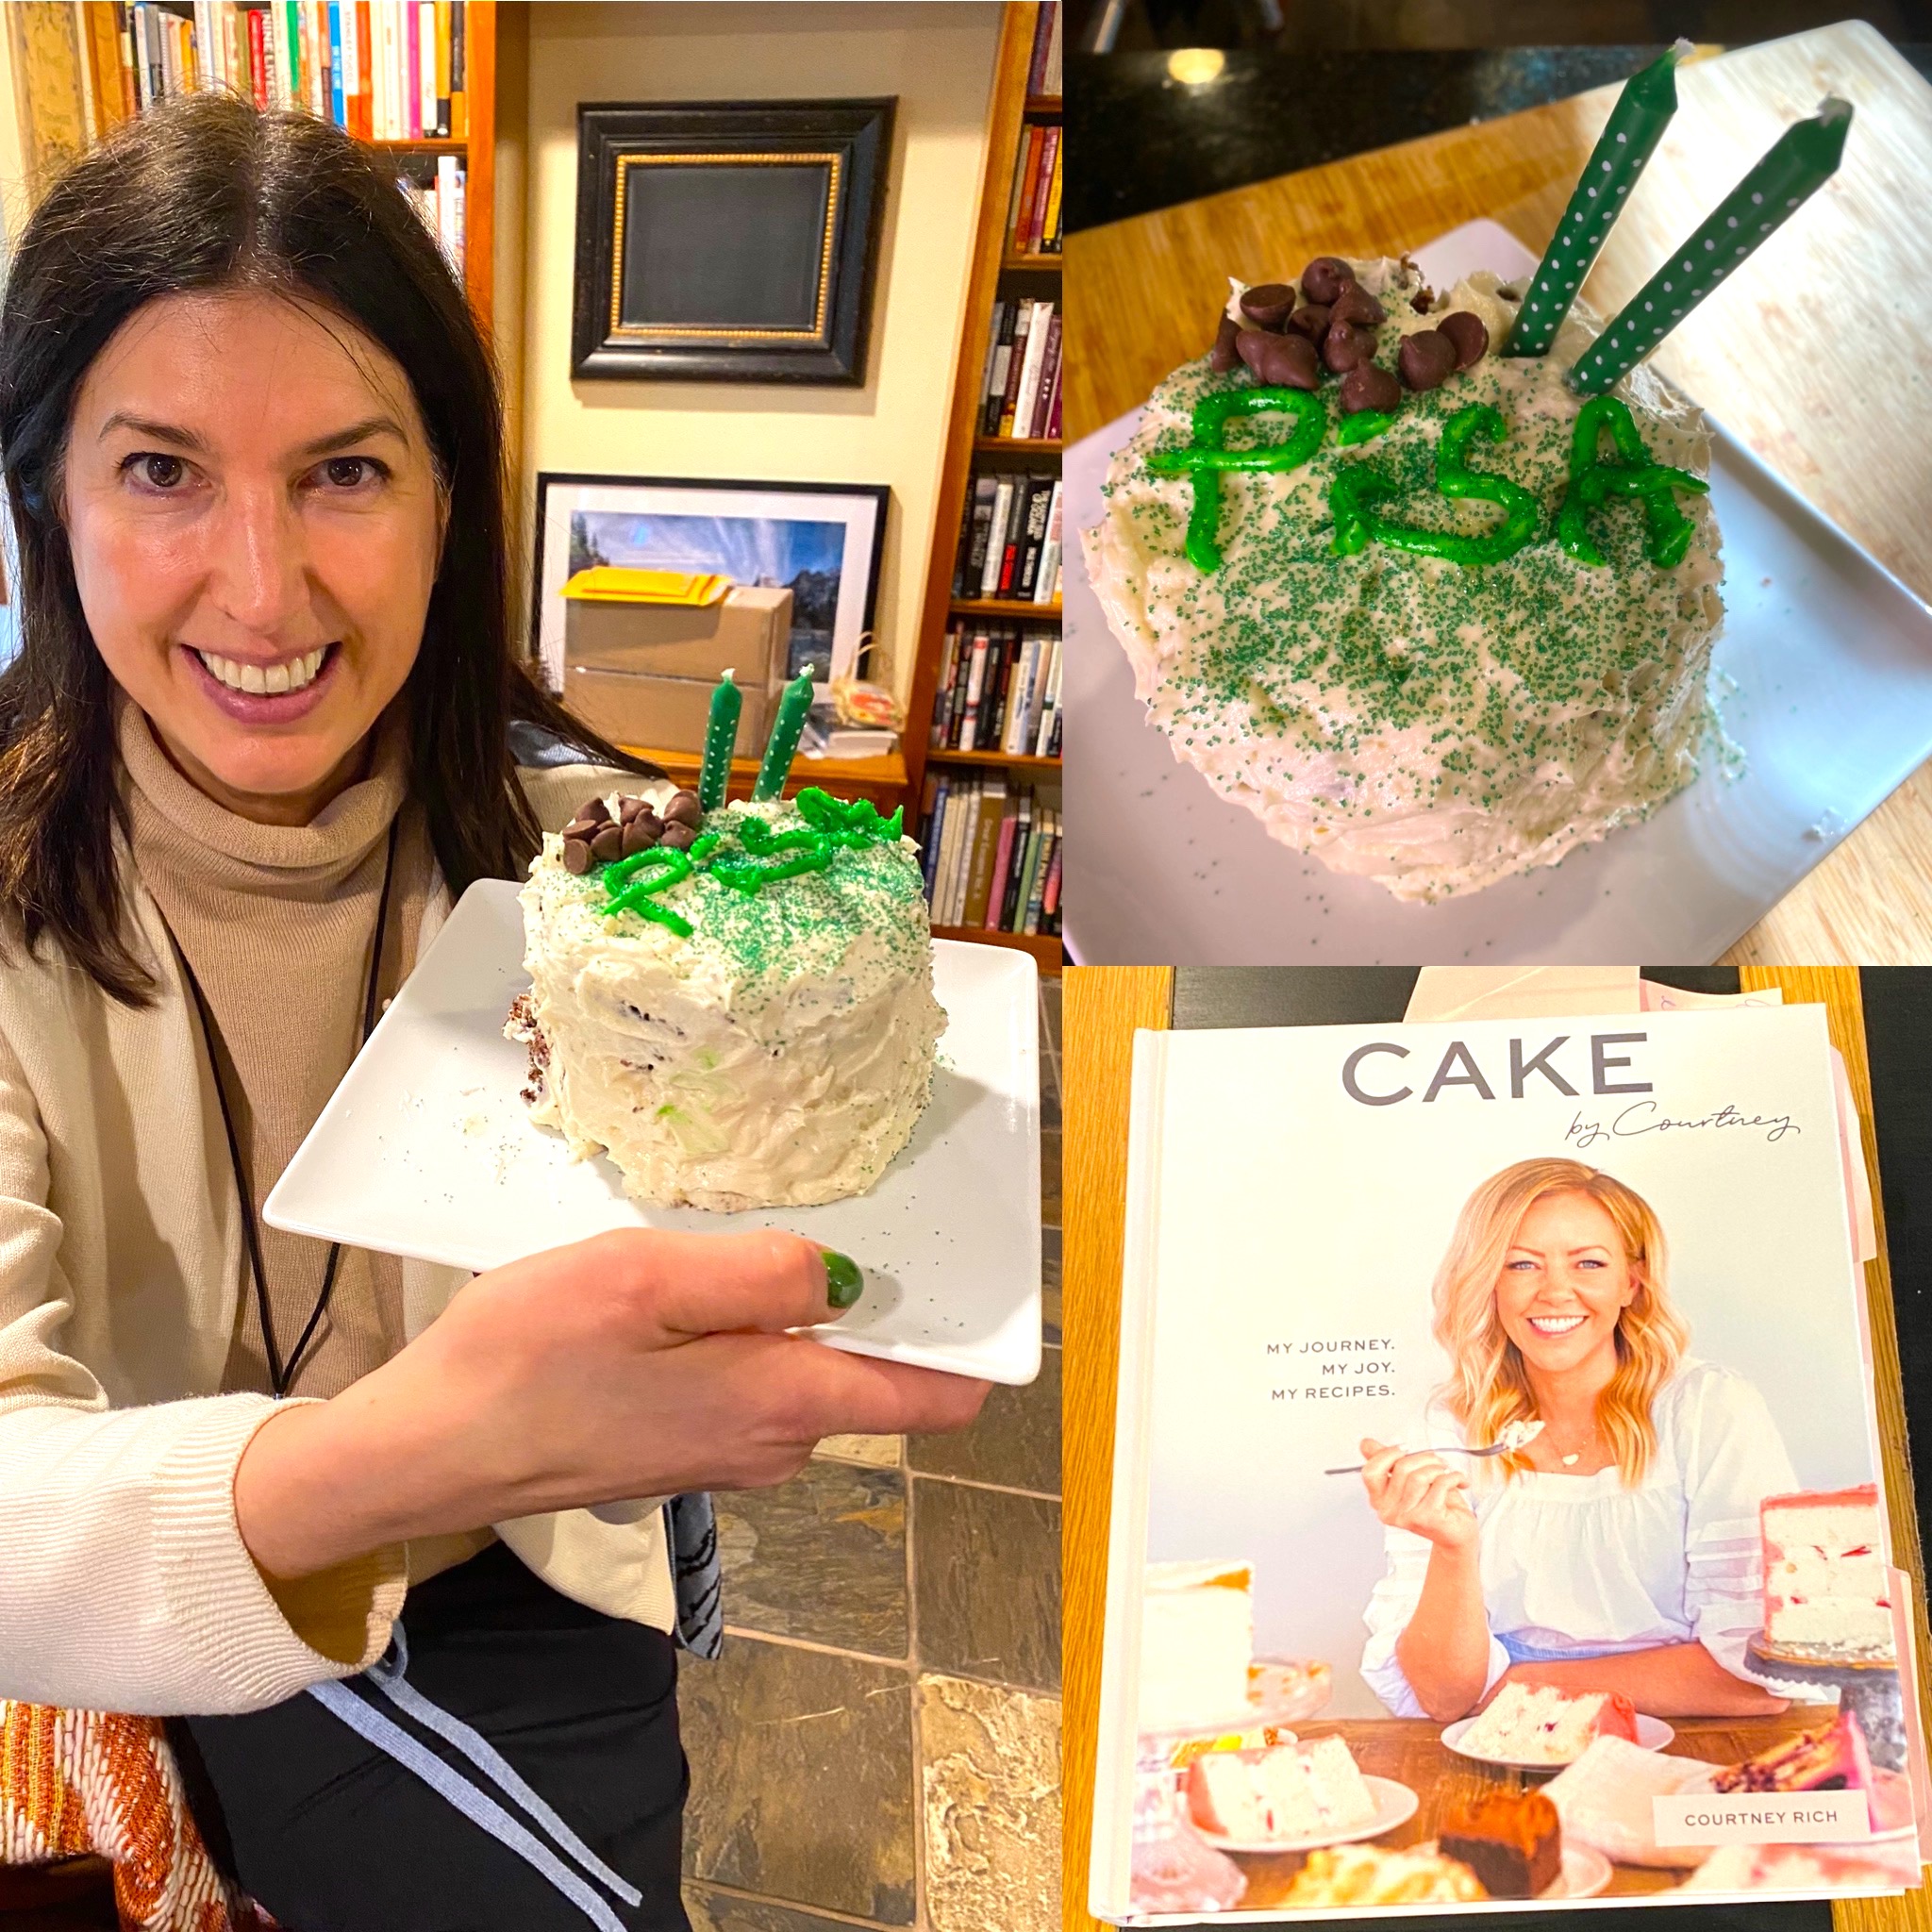
I put “CAKE By Courtney” in the stack on purpose: because I knew it was going to be Alex’s birthday during week #17 and I wanted to make her a cake!
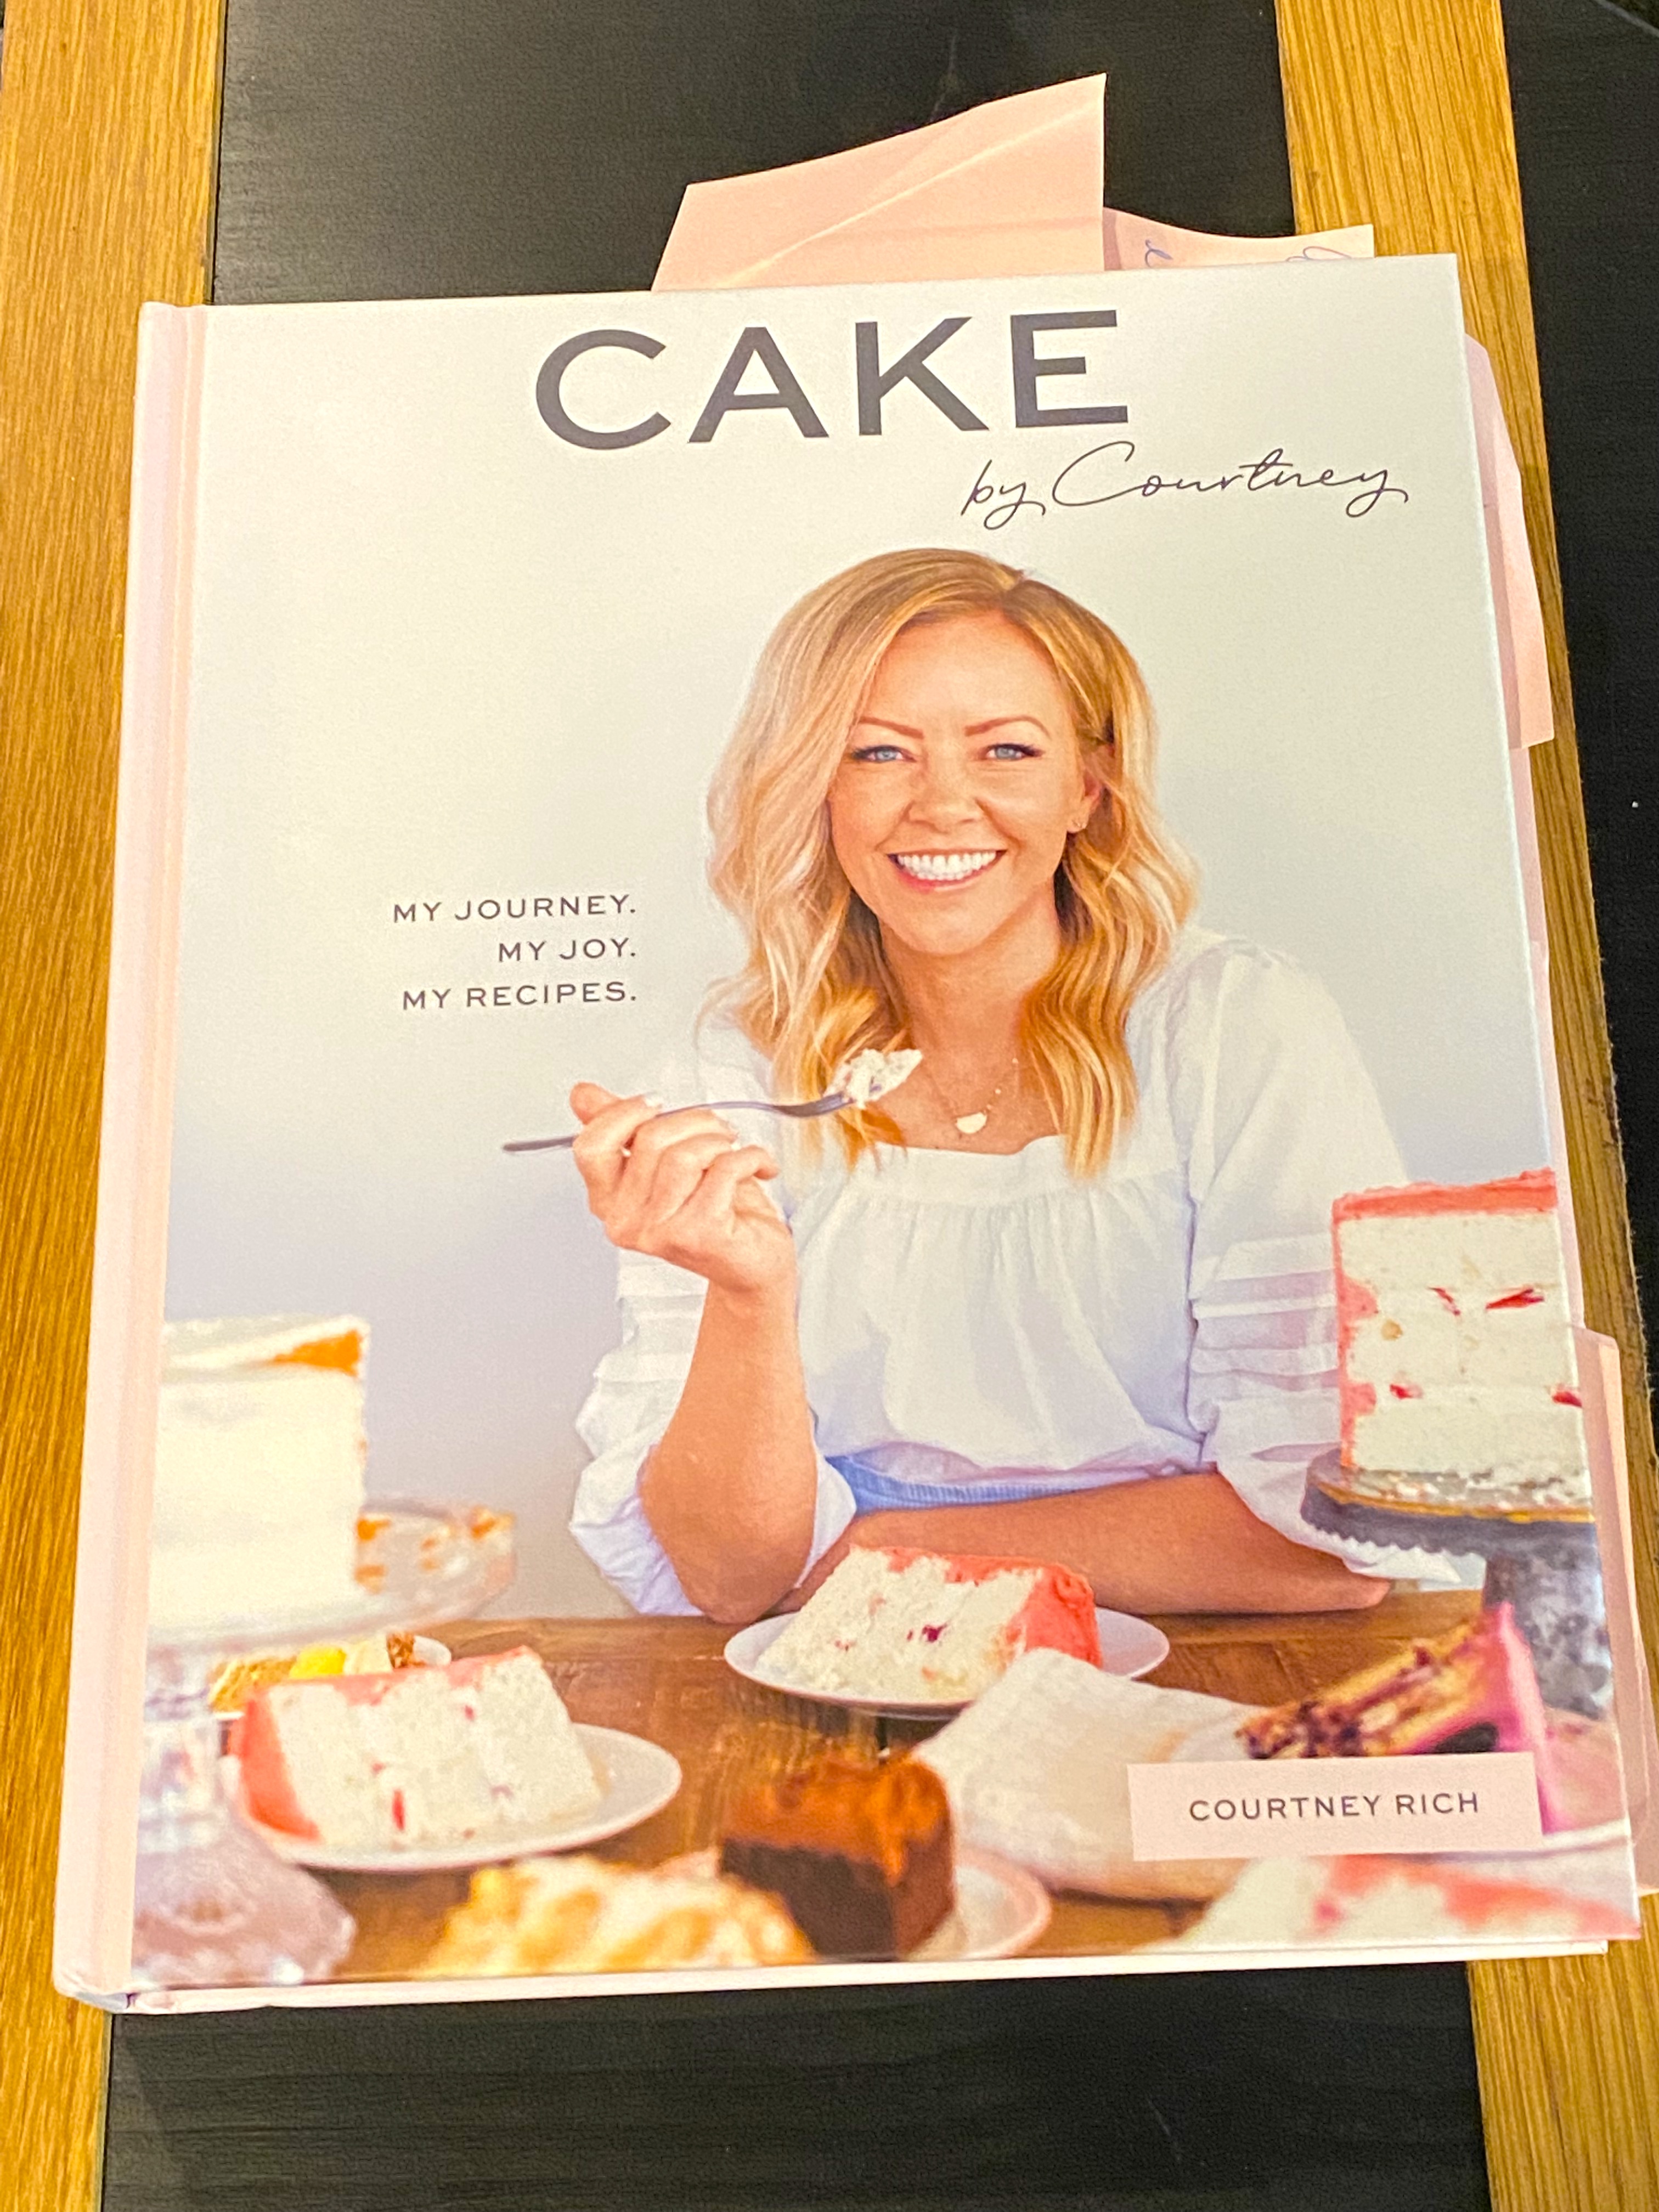
Courtney Rich has been on my wife’s talkshow, “The Kelly Clarkson Show” several times – making incredibly delicious and creative desserts, and those pink post-its sticking out of the book are all of Courtney’s notes to Alex highlighting some of the recipes she thought Alex would love…which led me to make a “Chocolate Salted Caramel Buttercream Cake!”

Let The Adventure Begin!”
Let me set the stage: I wanted to make a special cake just for her, but I have said on many occasions that I am NOT a baker – so this was going to be a kitchen adventure to be sure!
There are four different steps to this dish:
1 – Make A Chocolate Cake
2 – Make Salted Caramel
3 – Make Buttercream
4 – Build A Birthday Cake
Sounds easy enough! Let’s get started with step #1:

Step #1: Make A Chocolate Cake!
This part of the recipe has a lot of components, but making a cake batter is fairly easy – even for me: first, turn your oven on to 325 degrees.
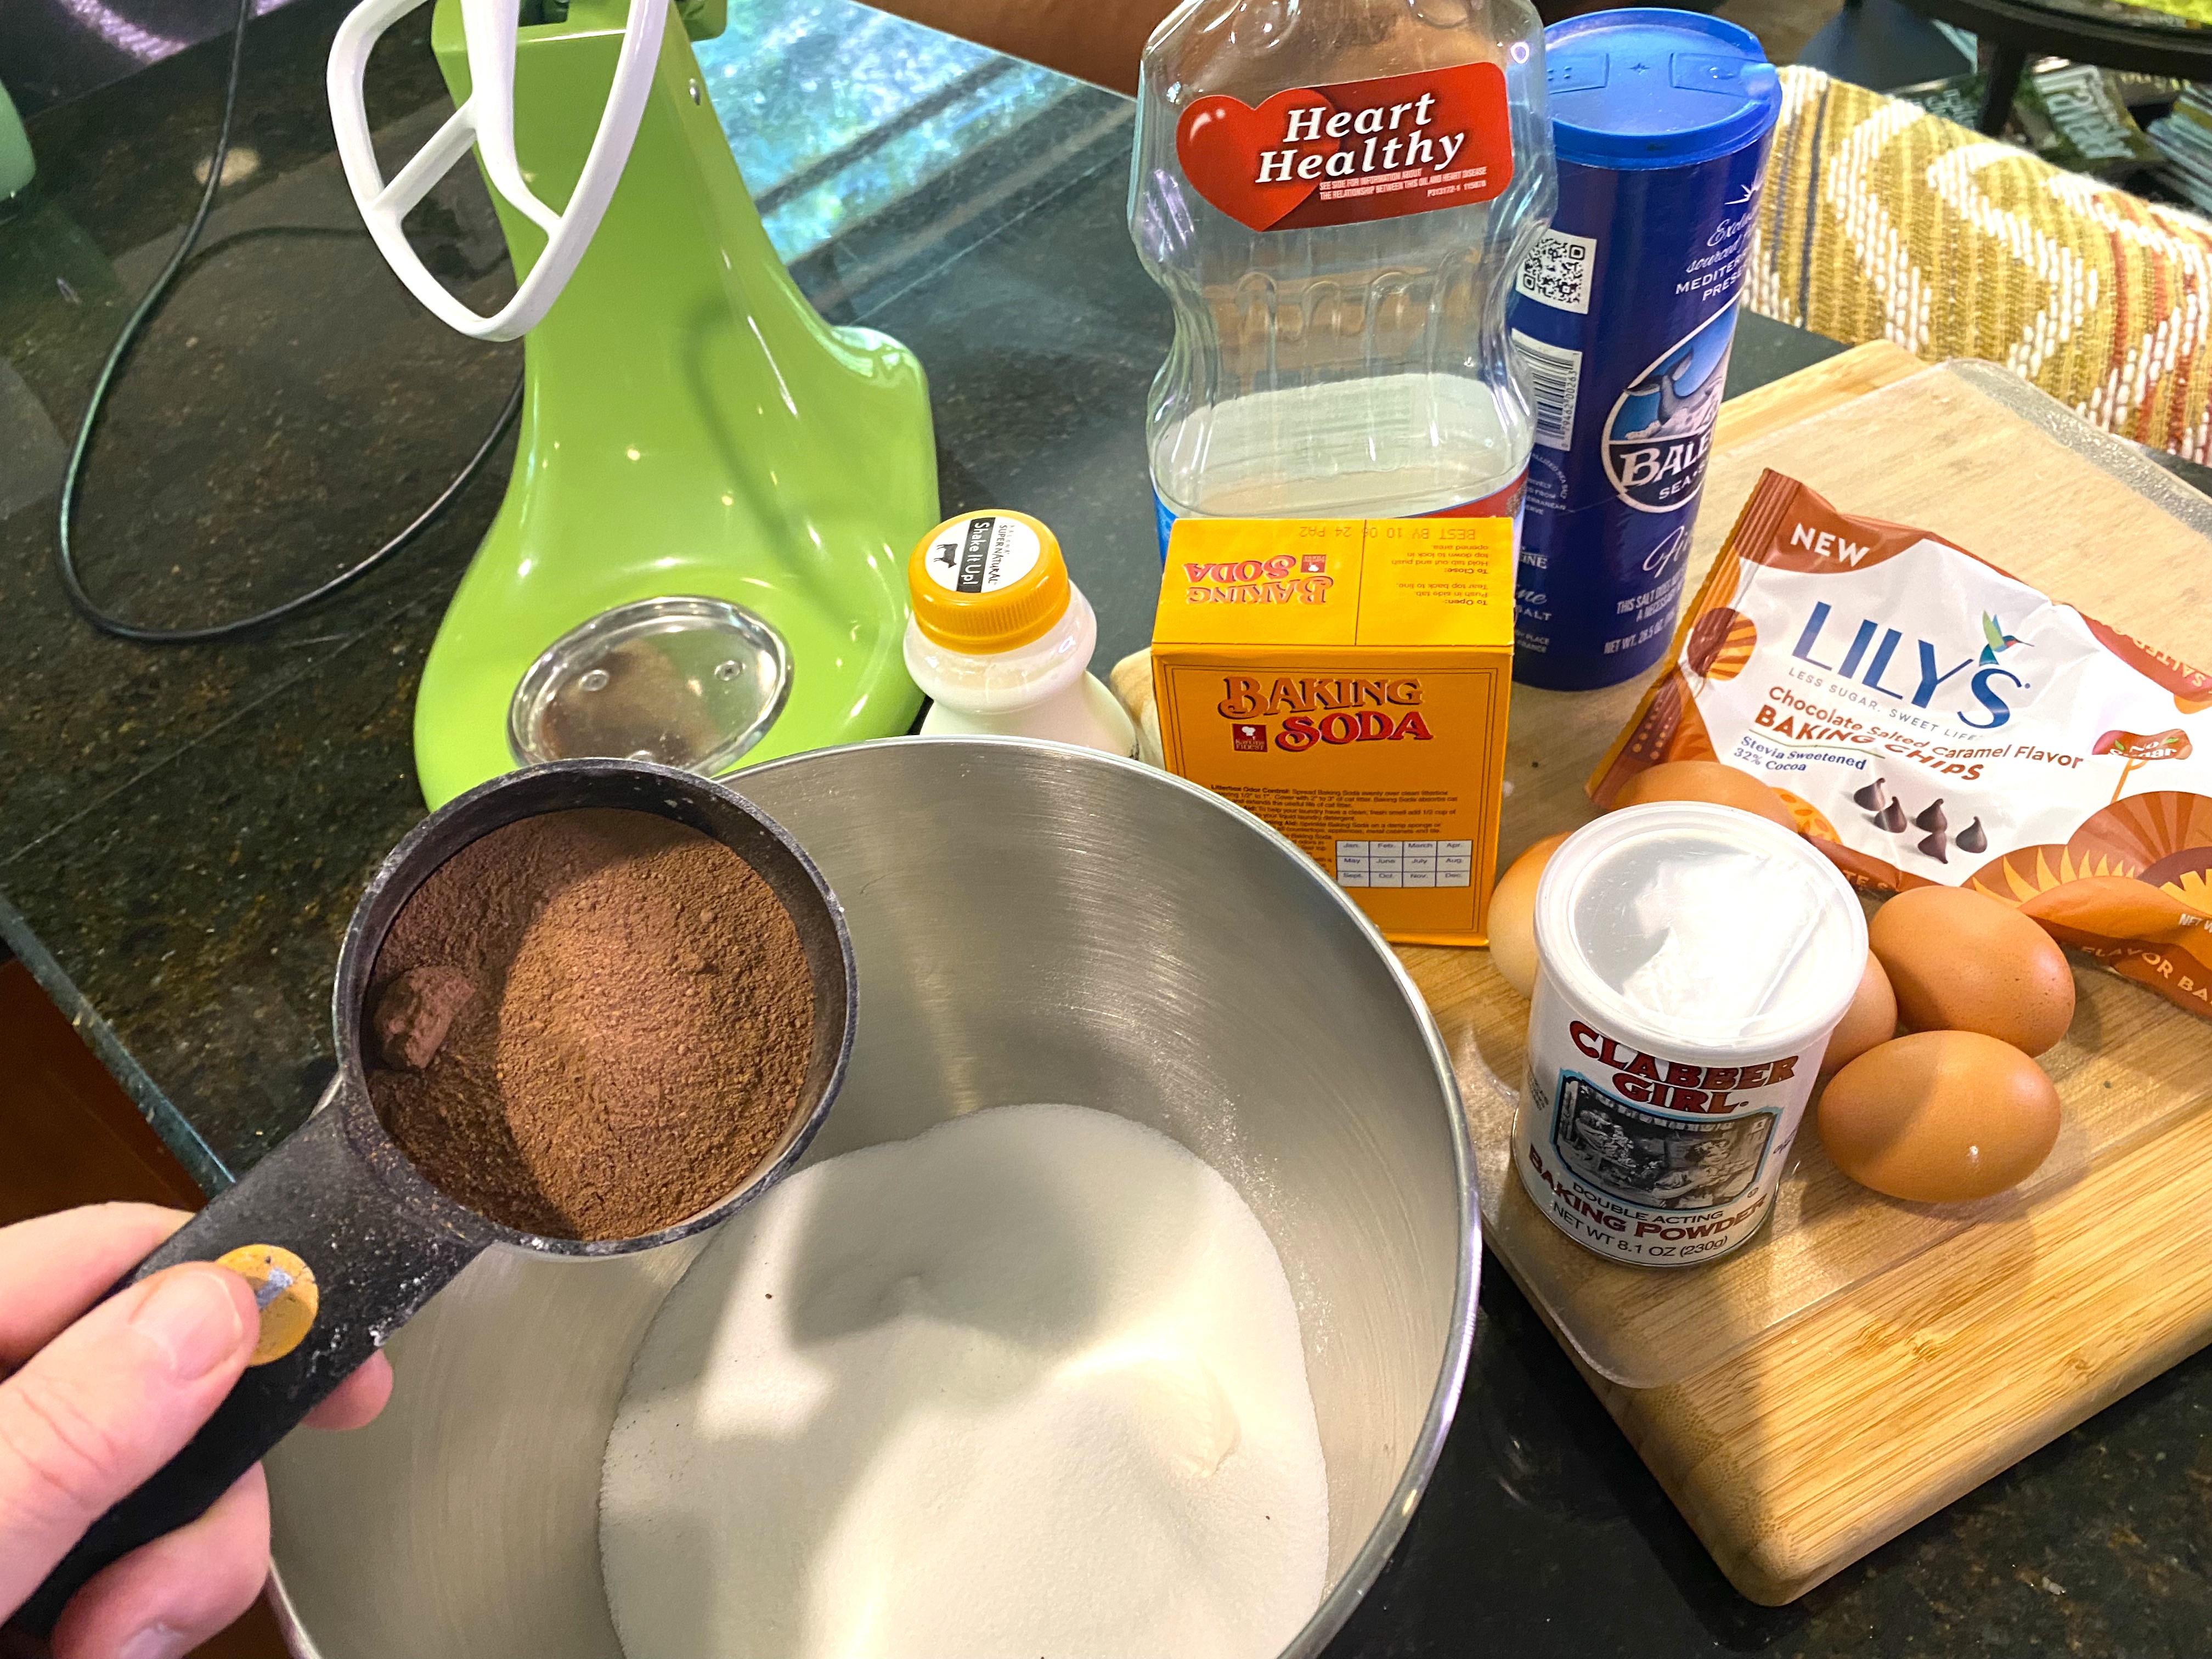
Using a stand mixer, add 2 cups flour, 1-3/4 cups sugar, 3/4 cup dark cocoa powder, 2 tablespoons of baking soda, 3/4 teaspoon baking powder and 3/4 teaspoon of salt. Mix on low for 30 seconds.

As you can see, not difficult, as long as you follow Courtney’s directions…
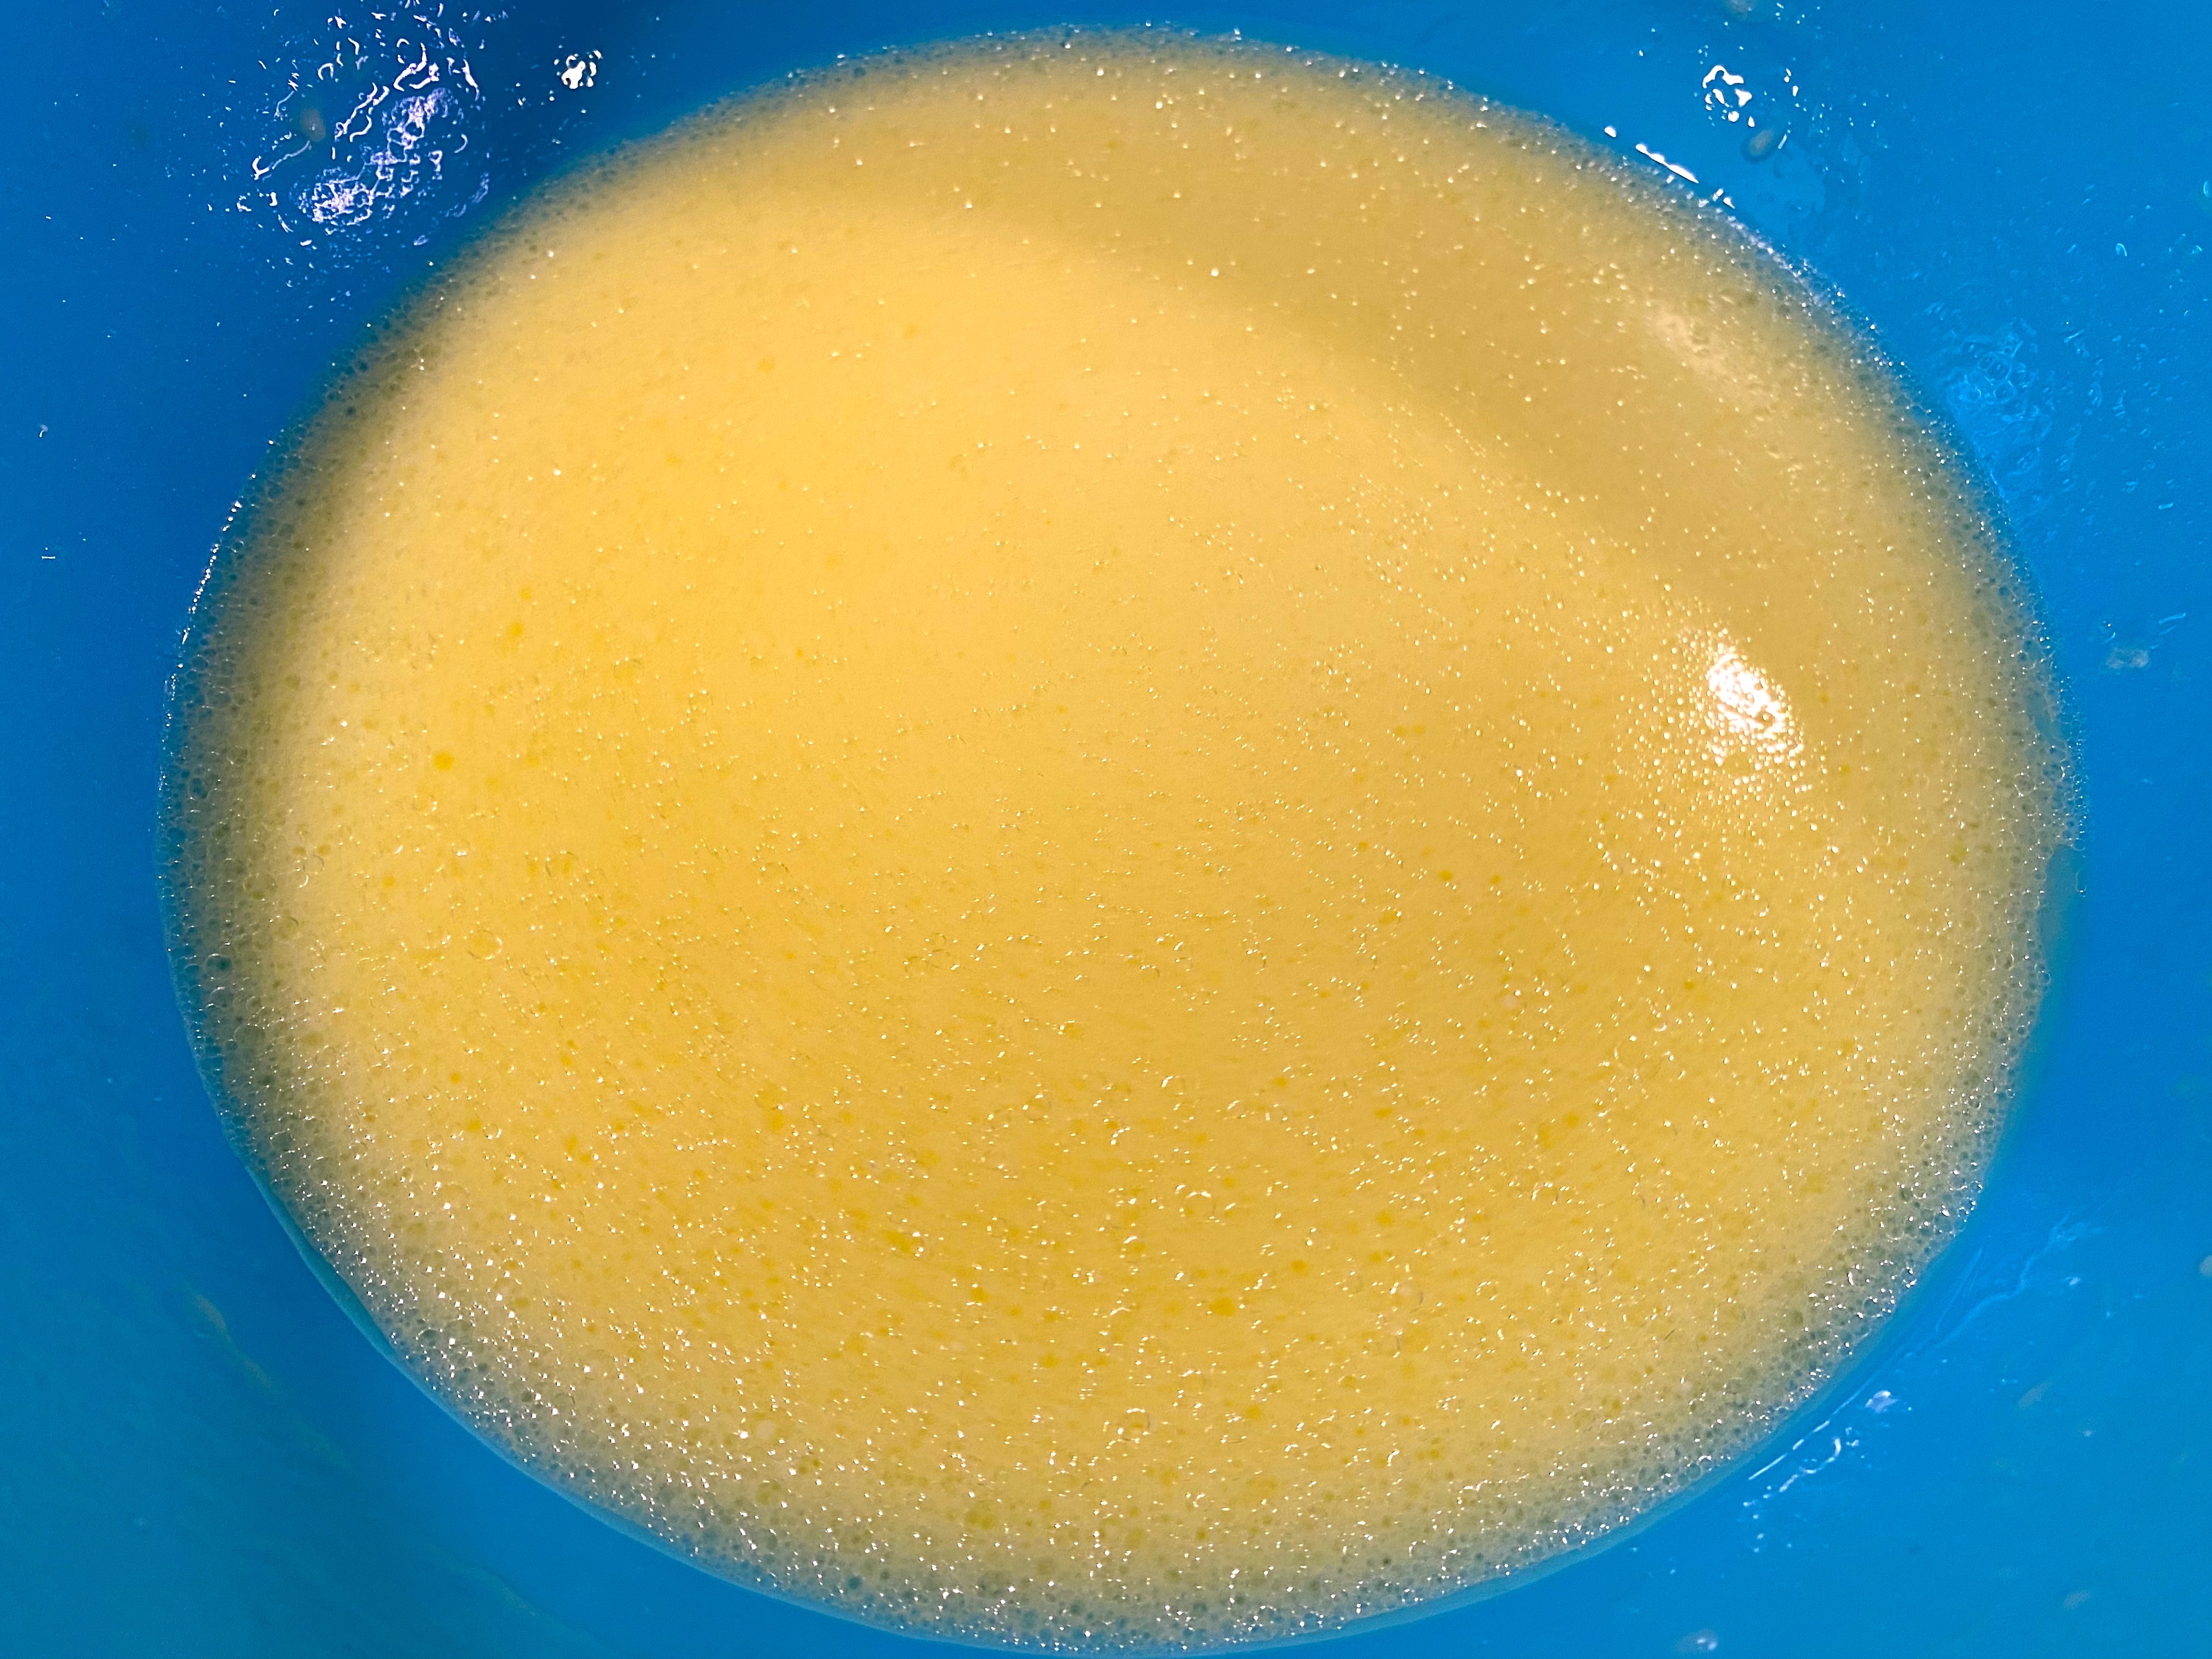
Next up, mix the wet ingredients that will be used for the batter:
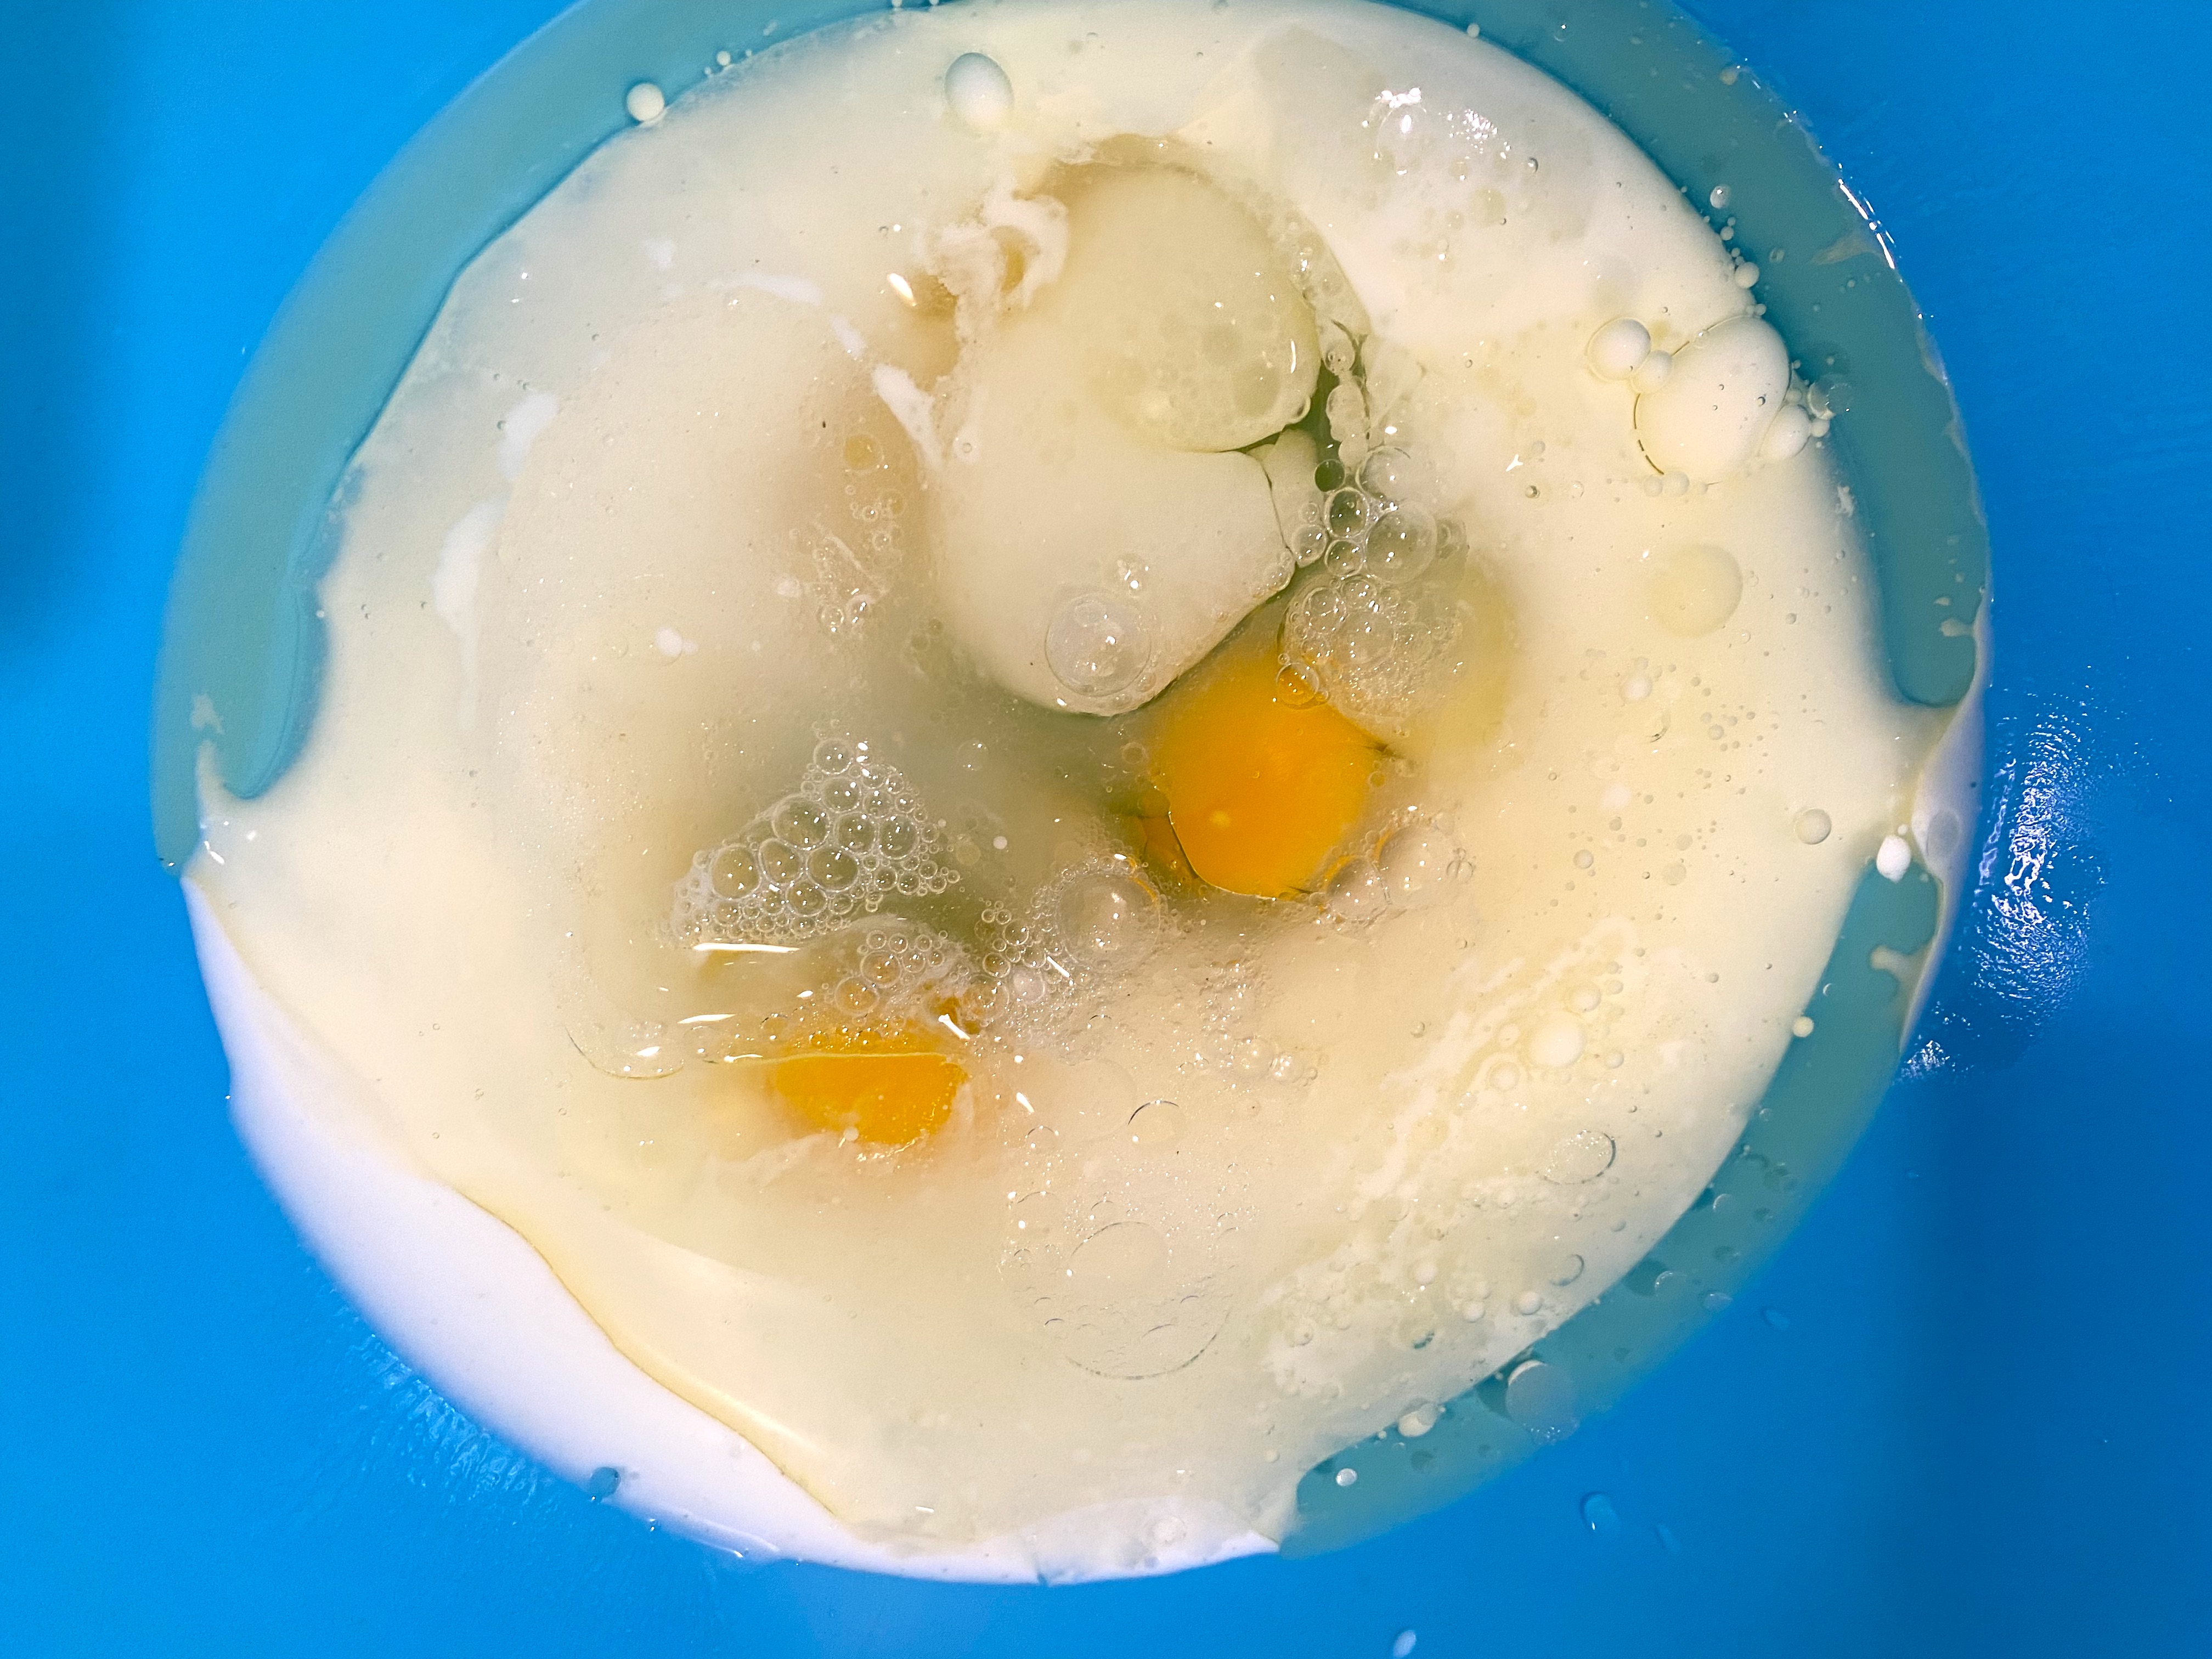
In a mixing bowl, whisk one cup buttermilk (room temperature), 1/2 cup vegetable oil, 3 room temperature eggs, I cup of hot water and a teaspoon of pure vanilla extract.
Everything seemed to be going well…the process isn’t complicated, I just needed to keep following the recipe exactly….which of course I couldn’t:
The next step is to turn the mixer back on and slowly pour the wet into the dry!

After thirty seconds, you can pour the batter into whatever type of pan you plan to bake in – I liked that so many of the “CAKE By Courtney” recipes were layered, so I chose 4″ baking pans…


I took some of the salted caramel chocolate nibs and sprinkled them in two of the four cake pans.
So…step one was a success…I put them into the oven.
While they baked in the oven at 325 for about 25 minutes, I moved to step two:

Step #2: Making Salted Caramel!
Next up, let’s make some salted caramel from scratch!
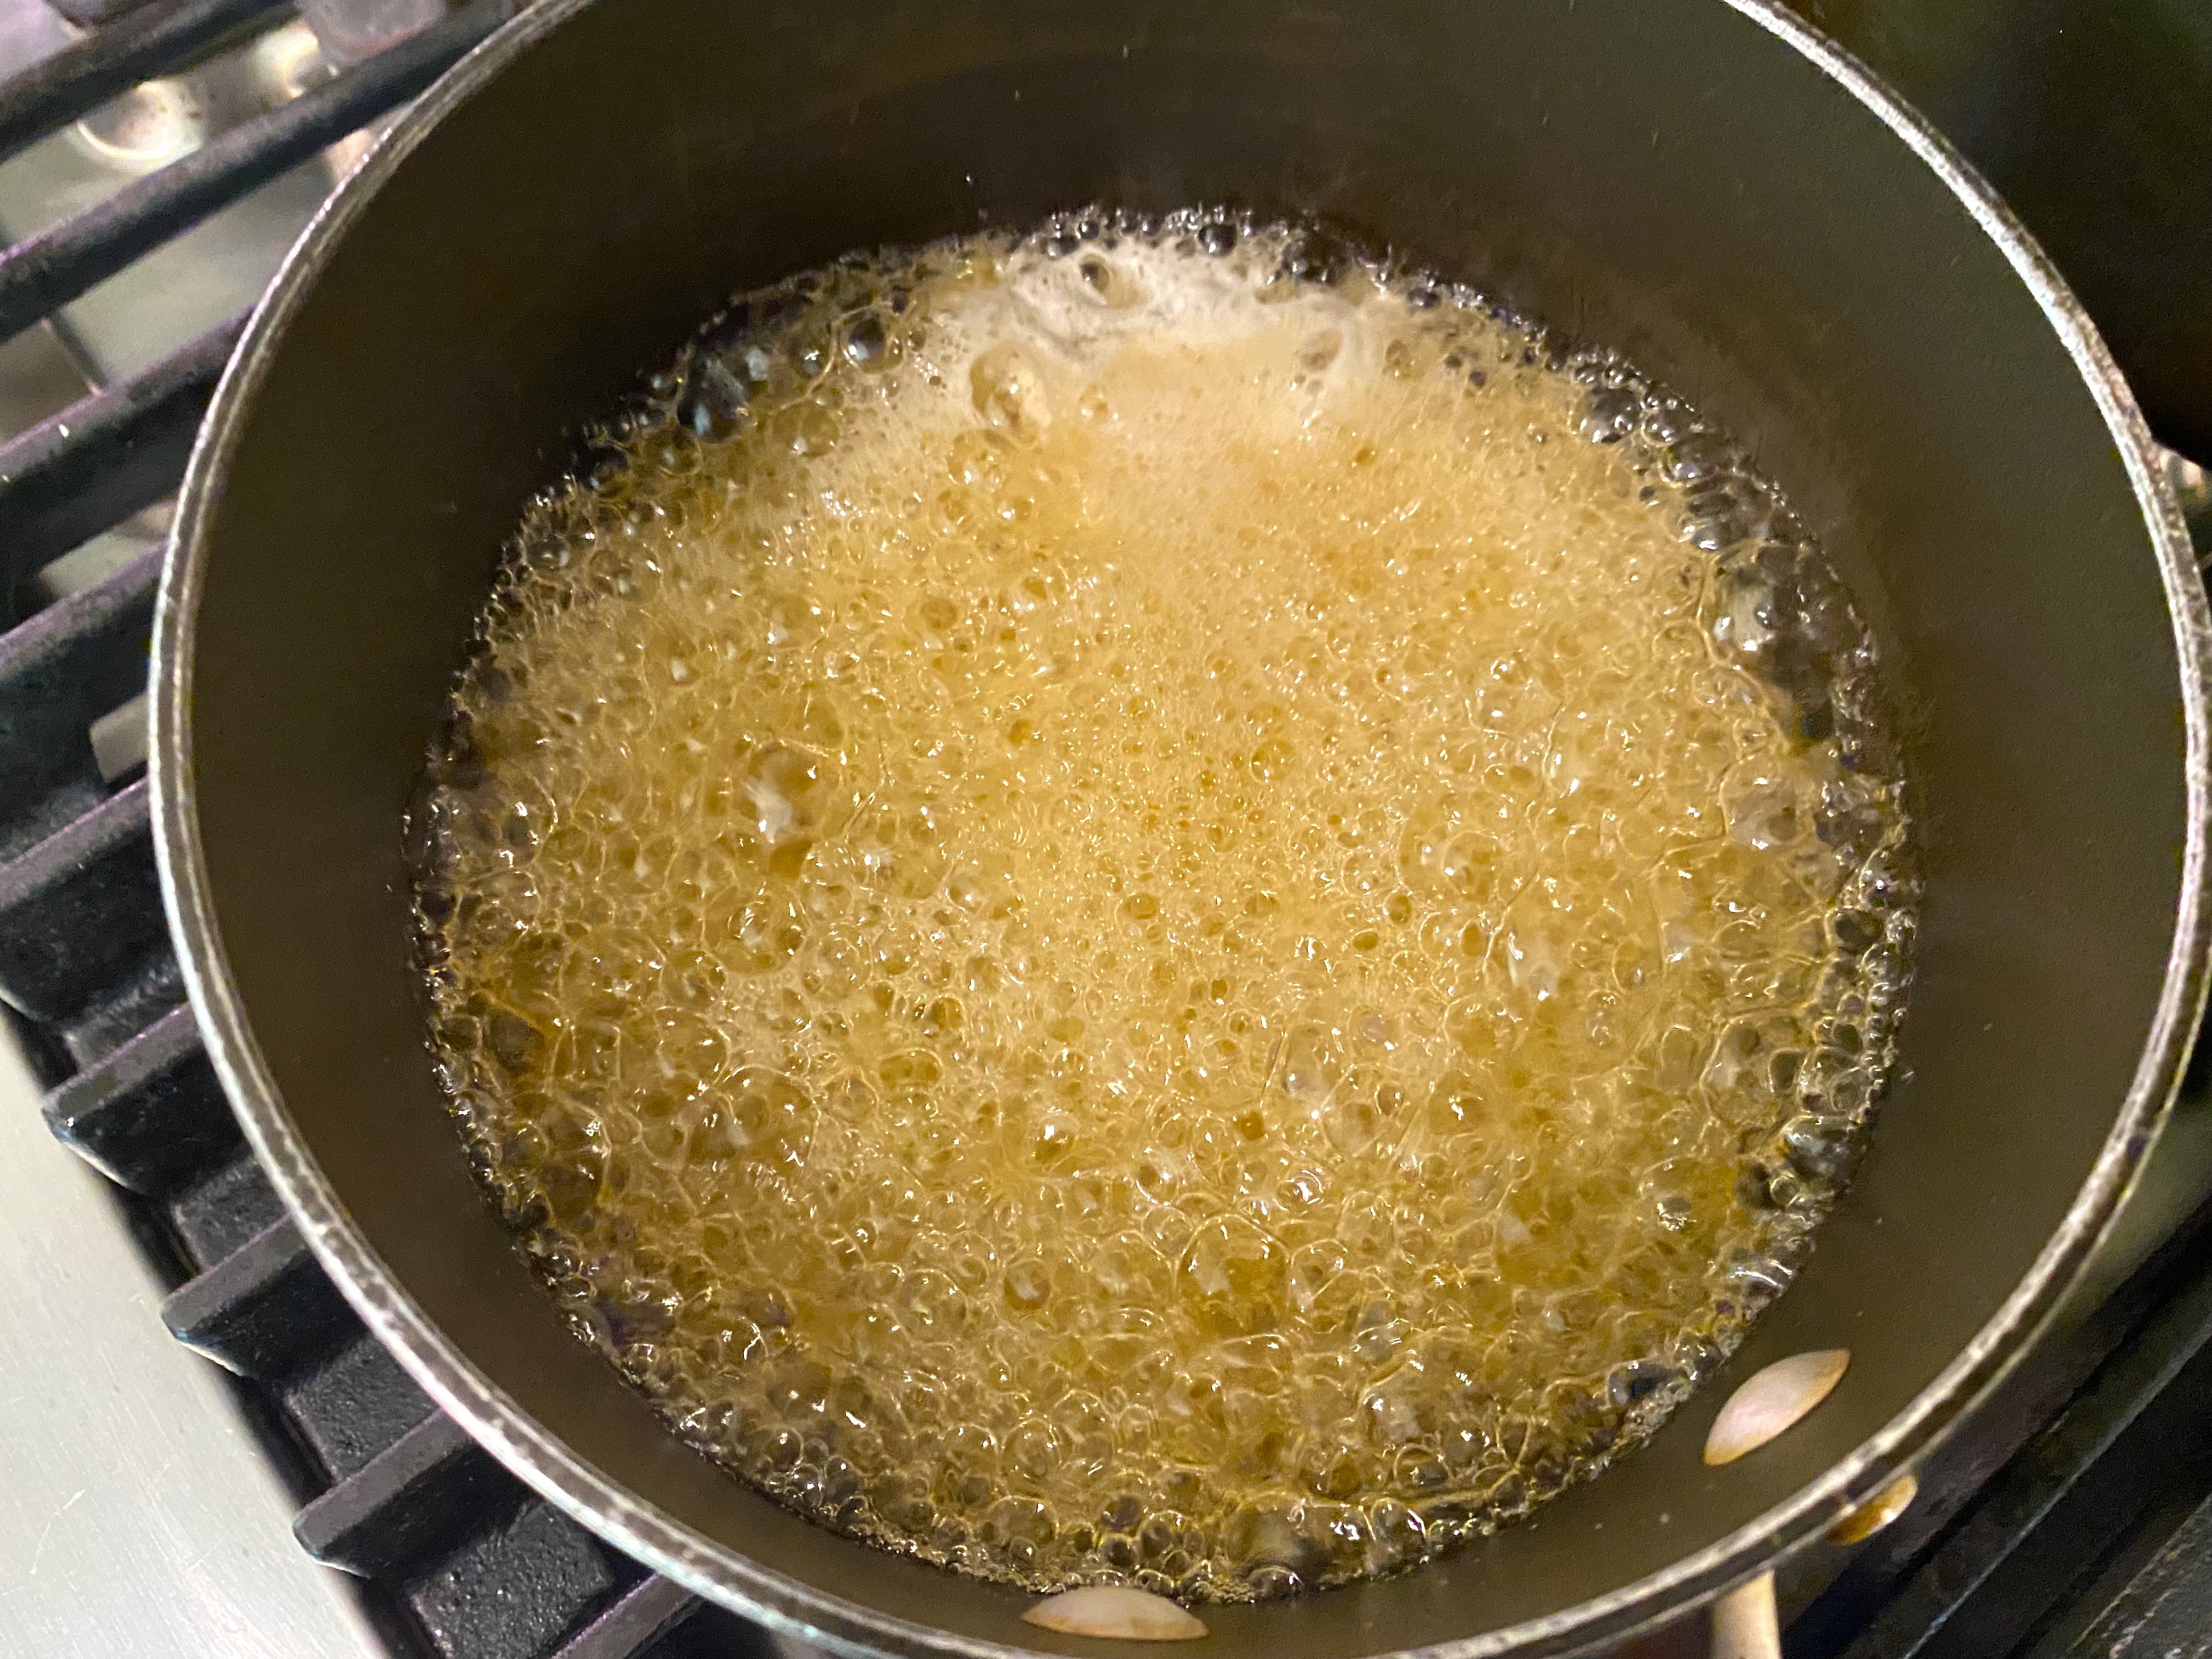
Mix 1/2 cup water, 1 cup of granulated sugar and two tablespoons of corn syrup in a small saucepan over medium heat. DO NOT STIR!
That’s right, just let it cook until it turns to a golden brown, which will happen quickly so keep an eye on it!
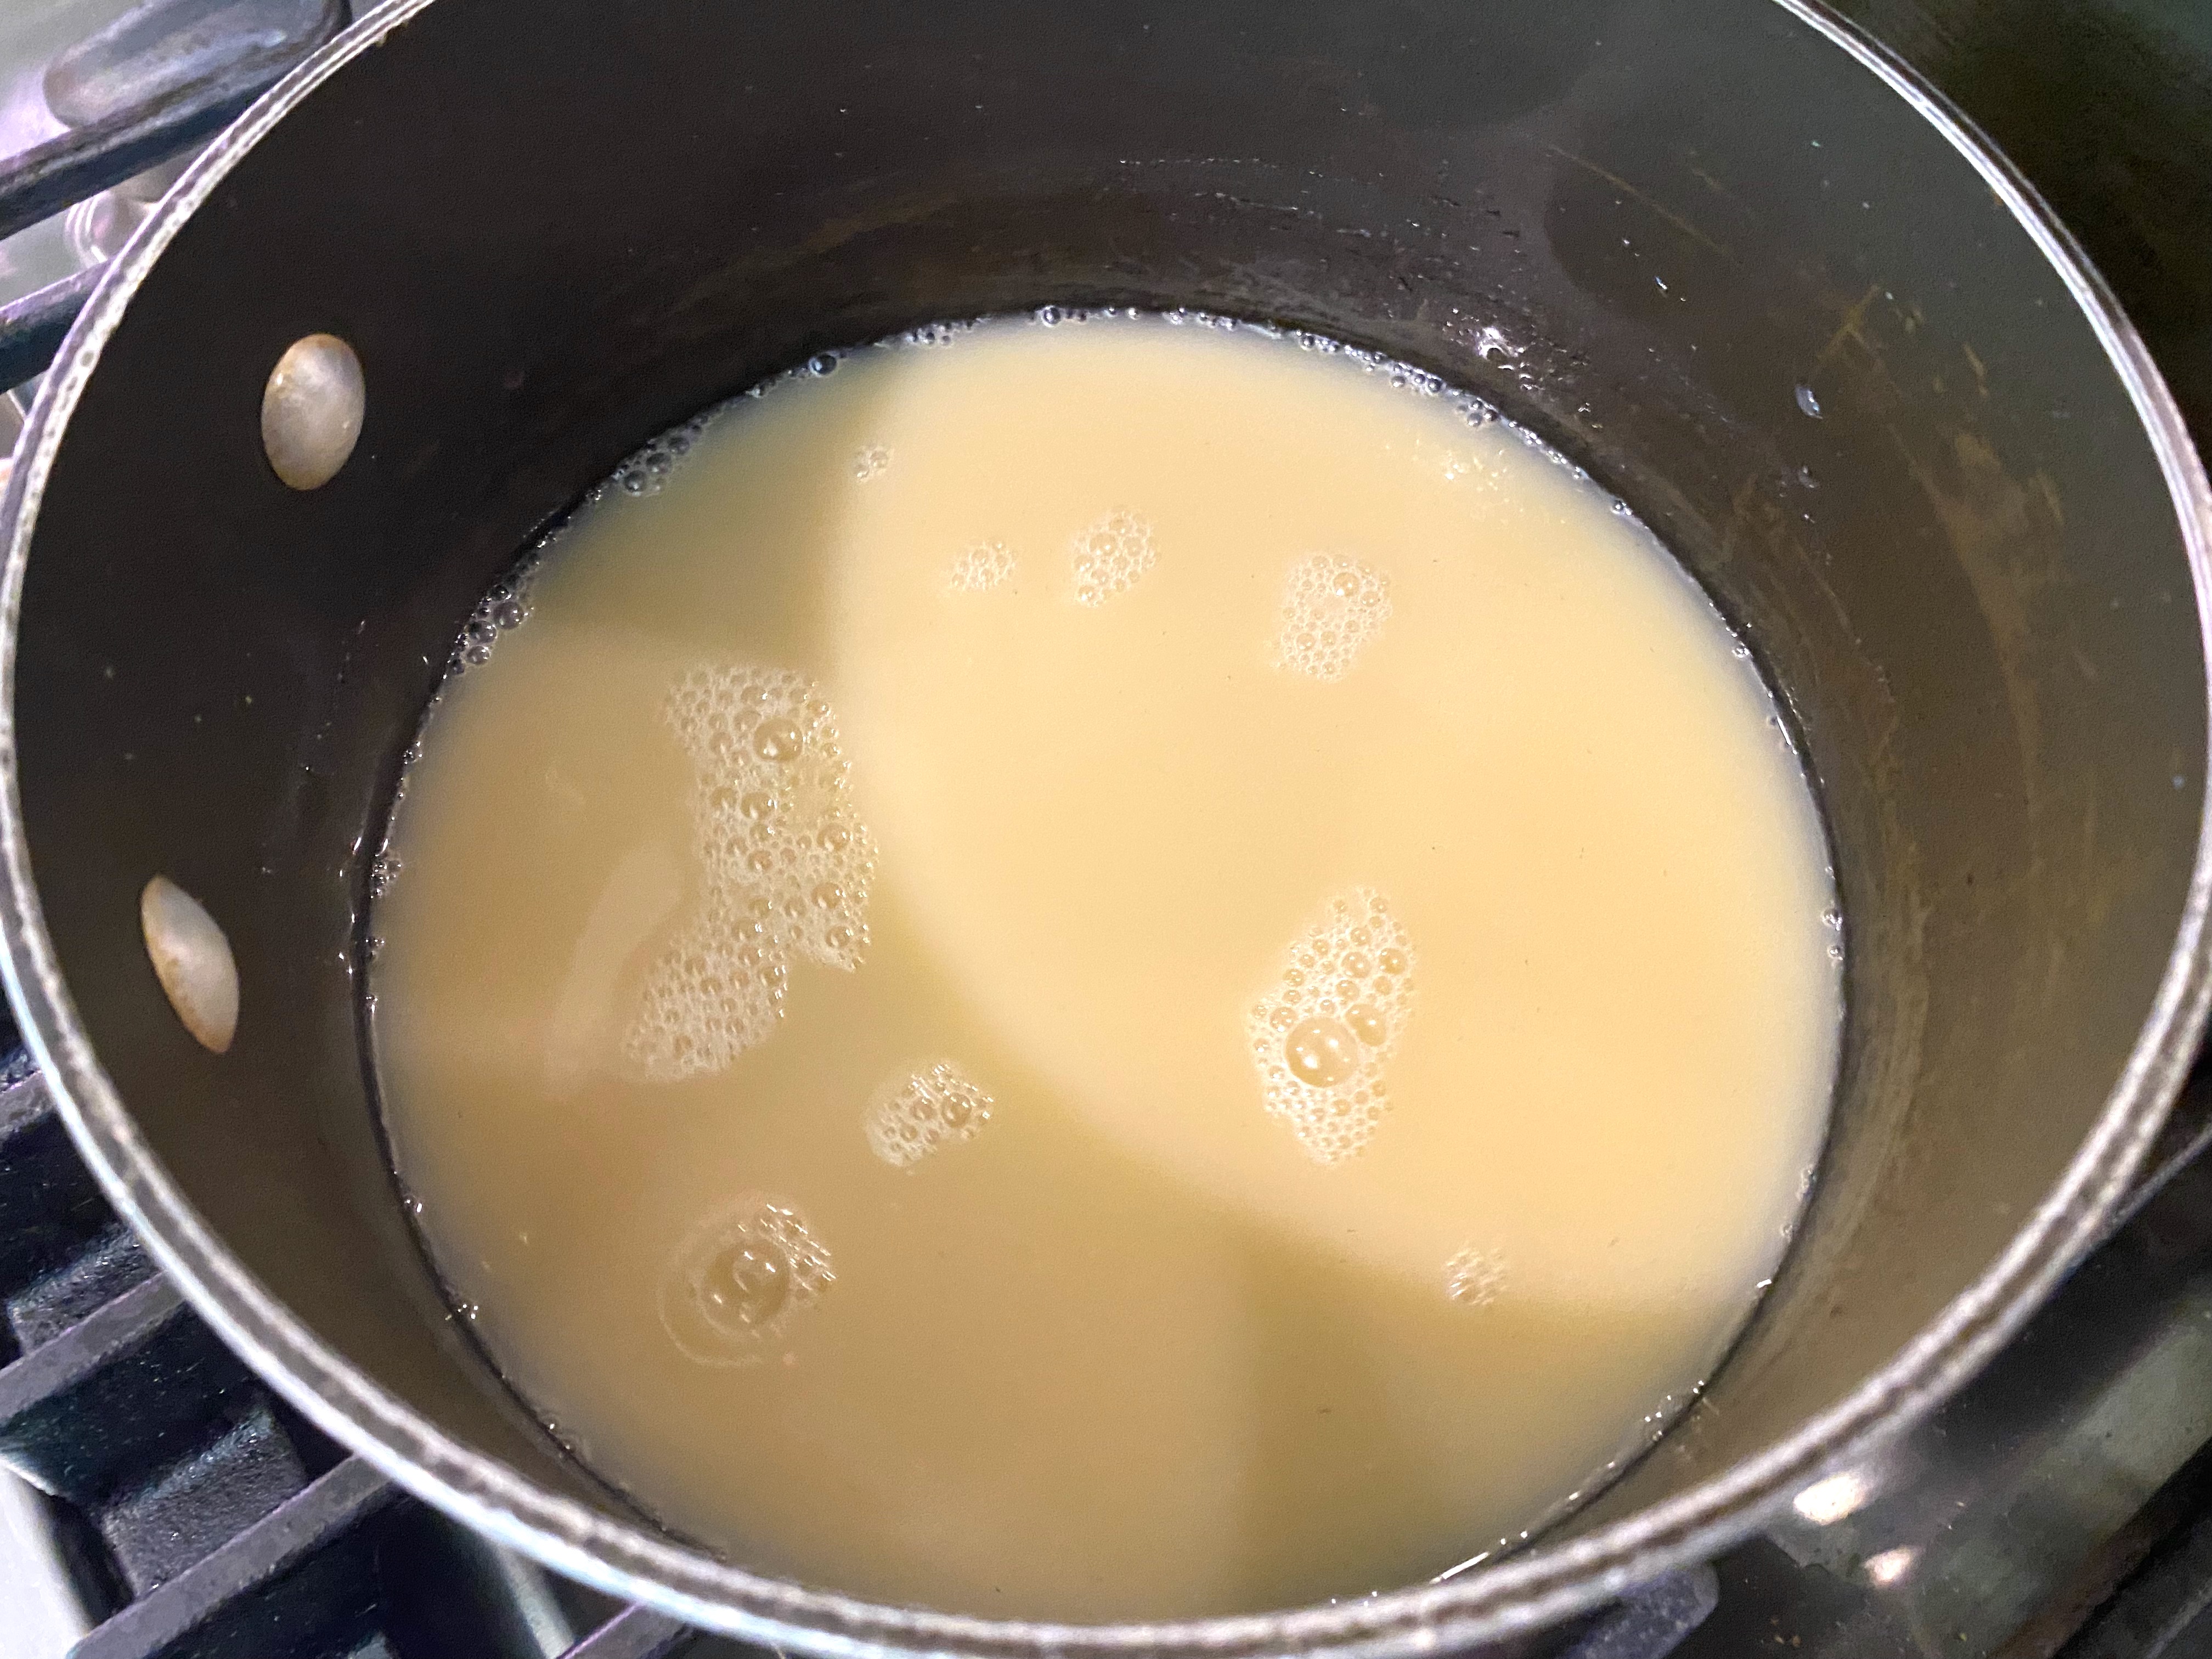
While that is underway – don’t stray too far – heat 3/4 cup of heavy cream in a microwave-safe container – when golden, remove the caramelized sugar syrup form the heat and slowly stir in the cream…

Mix it as you go, and after you’ve done that, add 2 teaspoons of salt and the same amount of Vanilla extract, stir and set aside to completely cool!


When that was done, I took the cakes out of the oven and let them cool as well, then took them out of their mold: now it was time to go to step #3!

Step #3: Making A Buttercream!
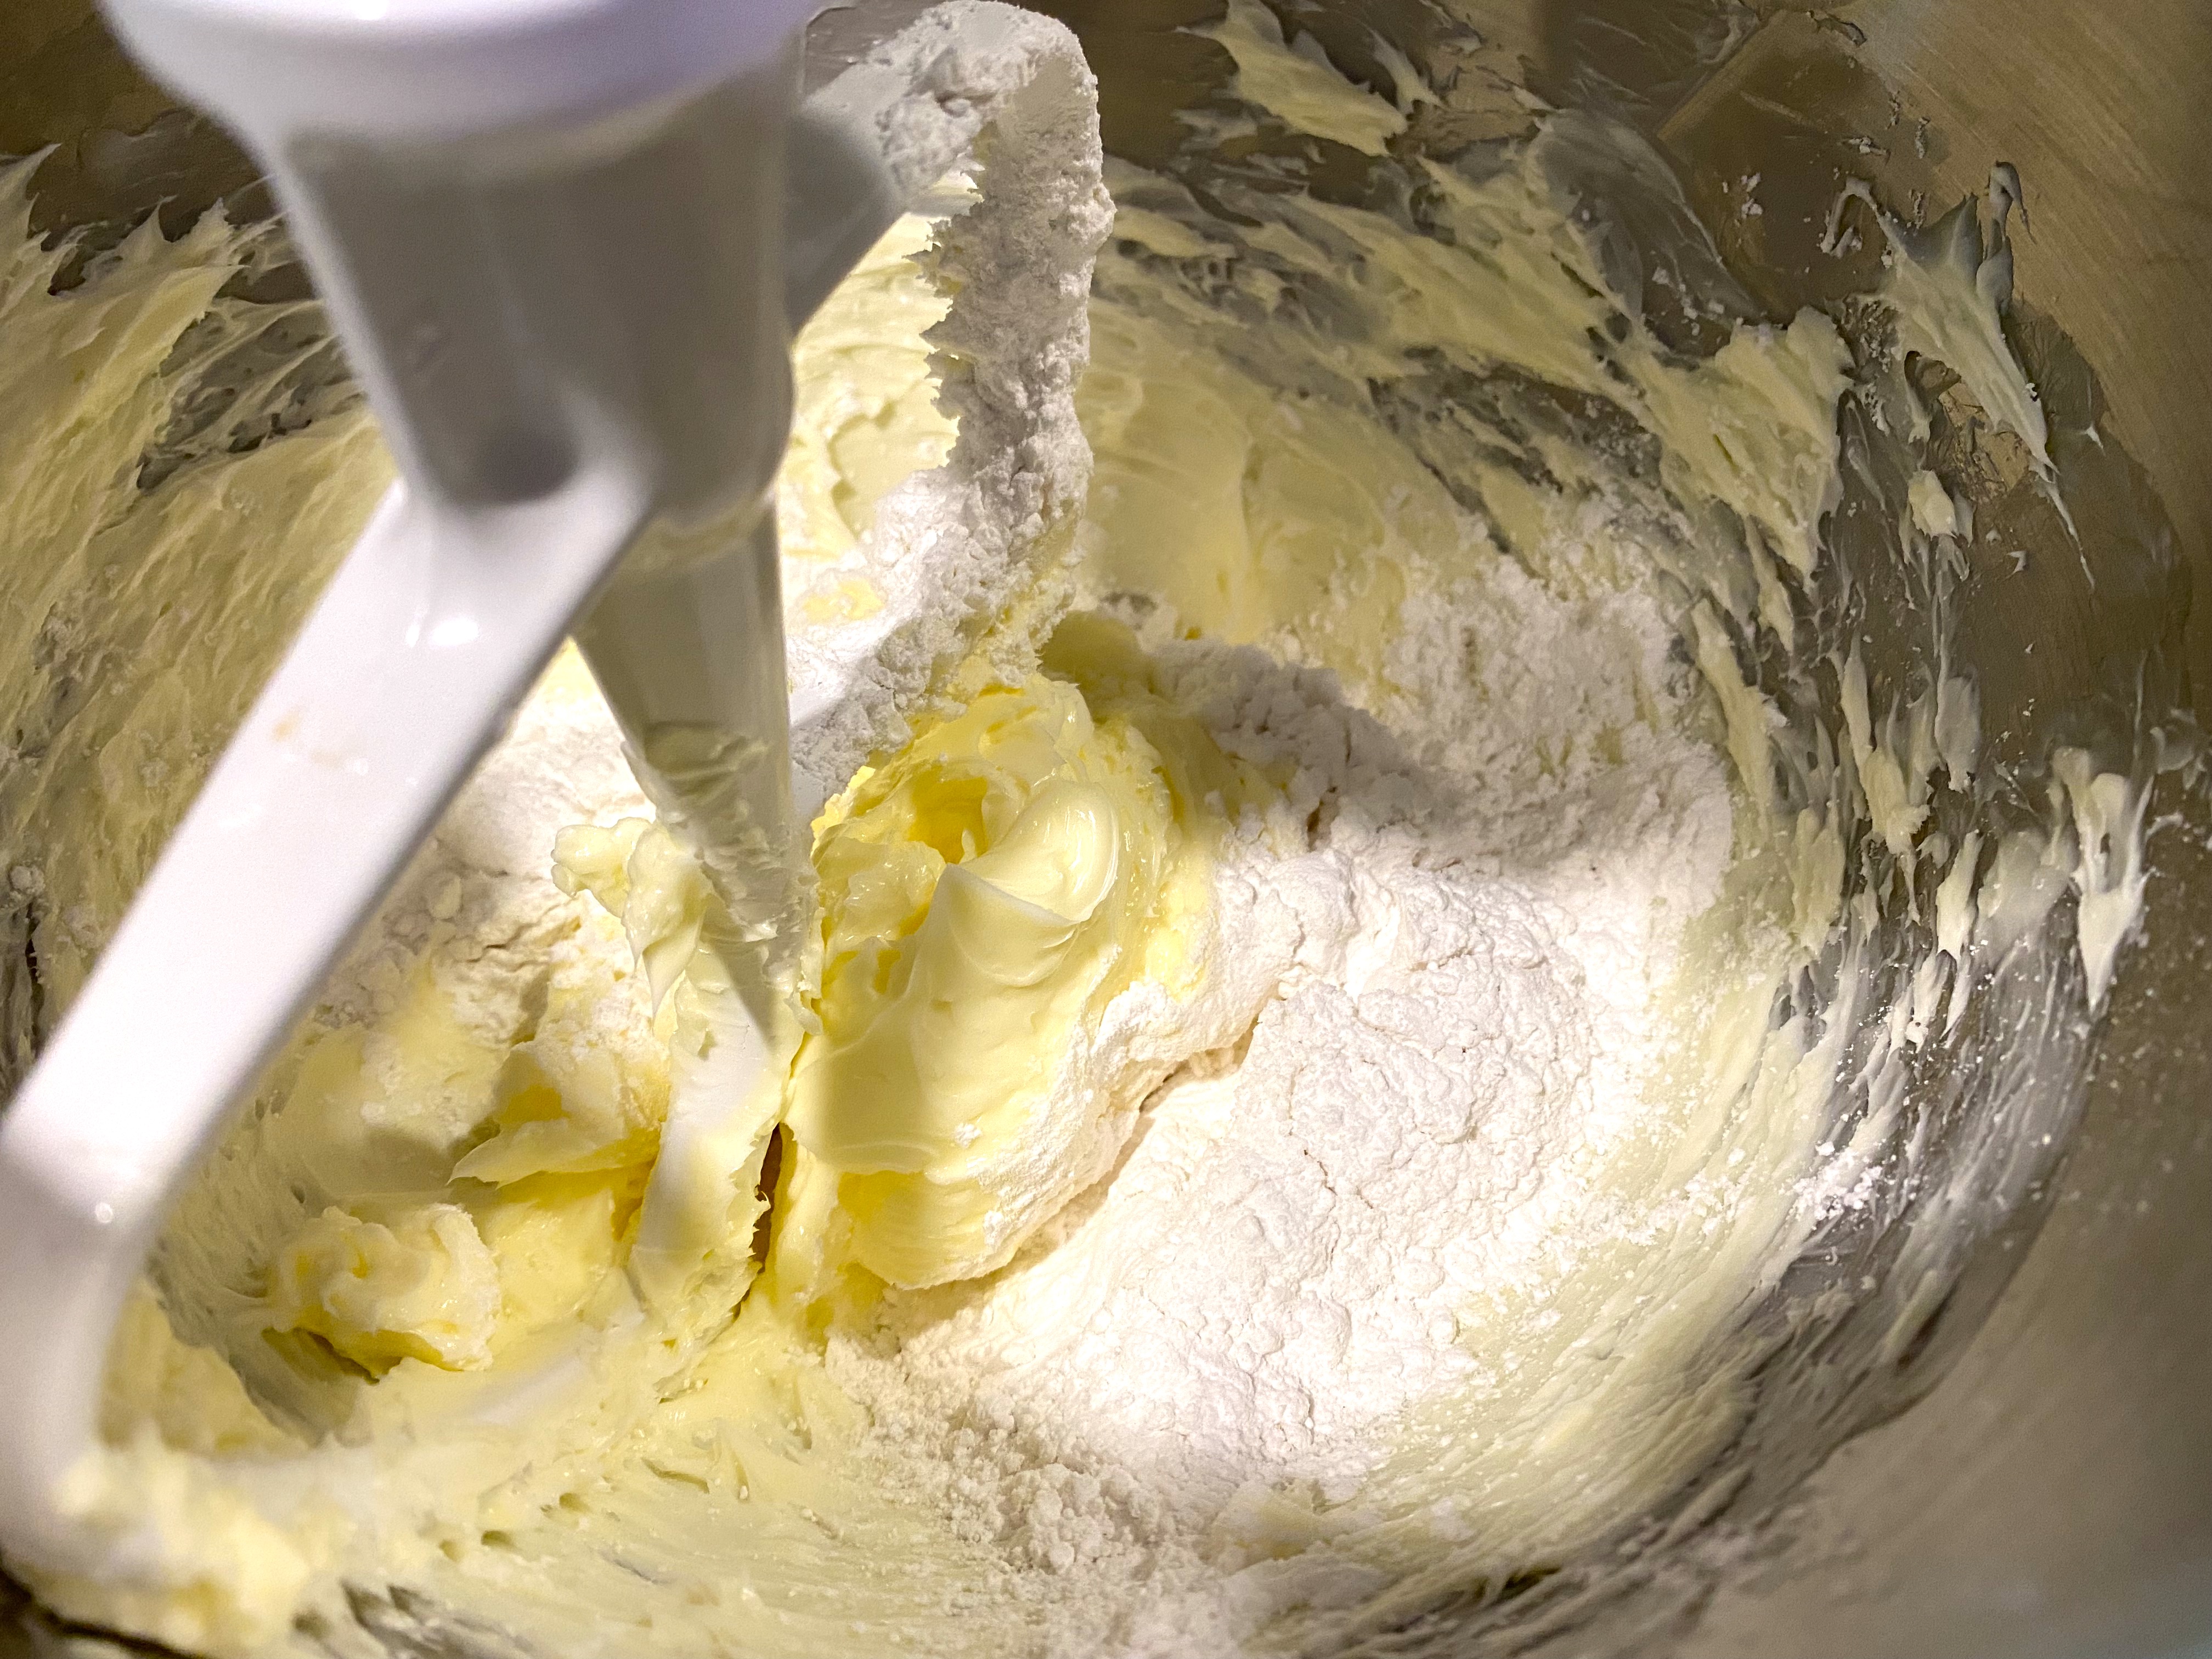
Back at the stand mixer, I grabbed the remaining ingredients not yet used and made my buttercream base.
This was where I pulled back a bit on the recipe…first, I beat two cups of slightly chilled butter at medium-high speed for 3-5 minutes, scraping down the sides throughout…then I lowered the speed to medium-low and added 3 cups of powdered sugar…the recipe called for SIX cups, but I was worried that would be too sweet…
Next step is to add a half cup of your liquid salted caramel mixture, blending it slowly – you have more than that in your saucepan, so take a taste and add more – when it’s your degree of delicious salted caramel flavor, blend in the stand mixer for 5 minutes and it will be fluffy and creamy!
So, the first three parts of this recipe went well – what could go wrong now?

Step #4: Building A Birthday Cake!
Yes, there’s my three-tiered cake after I stacked them up…that’s how you build a better birthday cake to be sure, right?

A step back: before I stack them, I put one of the cakes on the plate and poured some that leftover salted caramel sauce in it, and then a smear of the gorgeous buttercream like this:
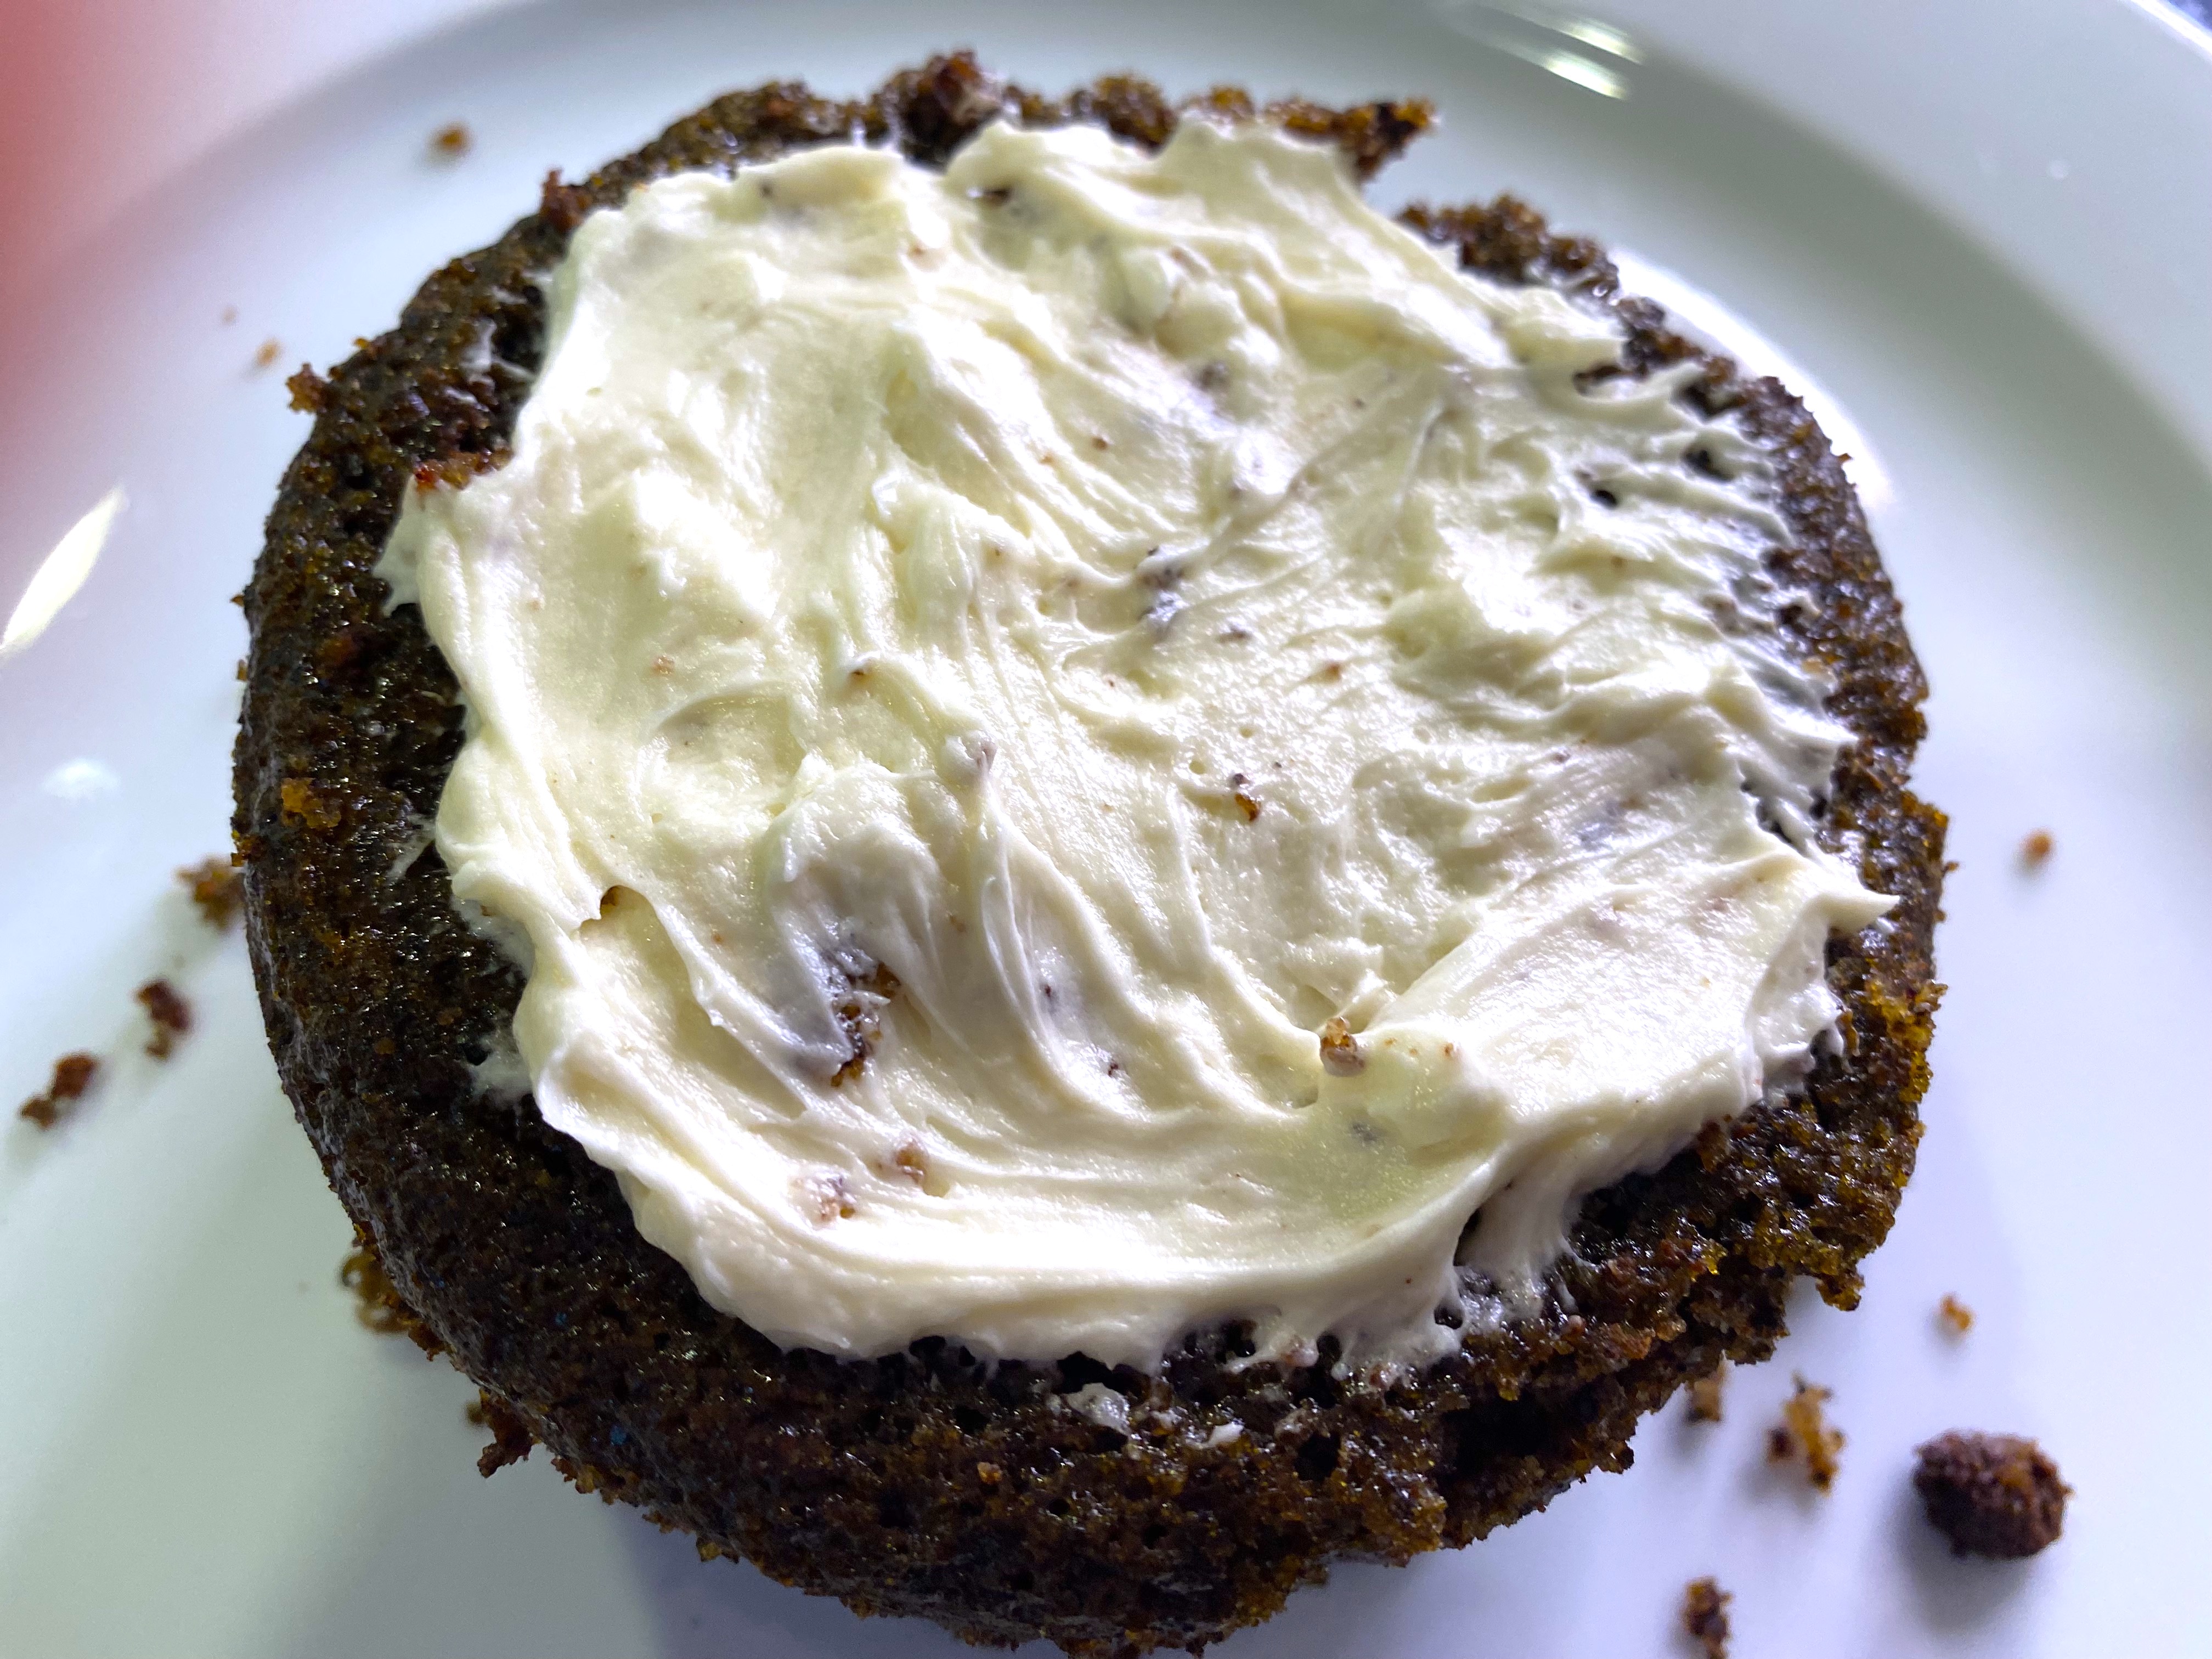
Easy, right?
RIGHT?
WRONG!

Well, here’s it all started to fall apart for me…I stacked the cakes three high, and as directed, started to spread the delicious buttercream around the side…and for some reason it began to stick and tear at the sides of the cake, pulling off crumbs, and the result looked like a salt’n’pepper coating!
I trudged on, picking at the noticeable chocolate crumbs and finally got it coated, but I am about to share a shameful secret:
https://youtube.com/shorts/o2RmJyK62uE
My Disastrous “Leaning Tower Of Pisa” Birthday Cake!
Yes, shortly after laboriously dabbing the Buttercream all around the cake with my fingers, managing to hide all of the chocolate crumbs, the cake began to tilt….
“TIMBER!”
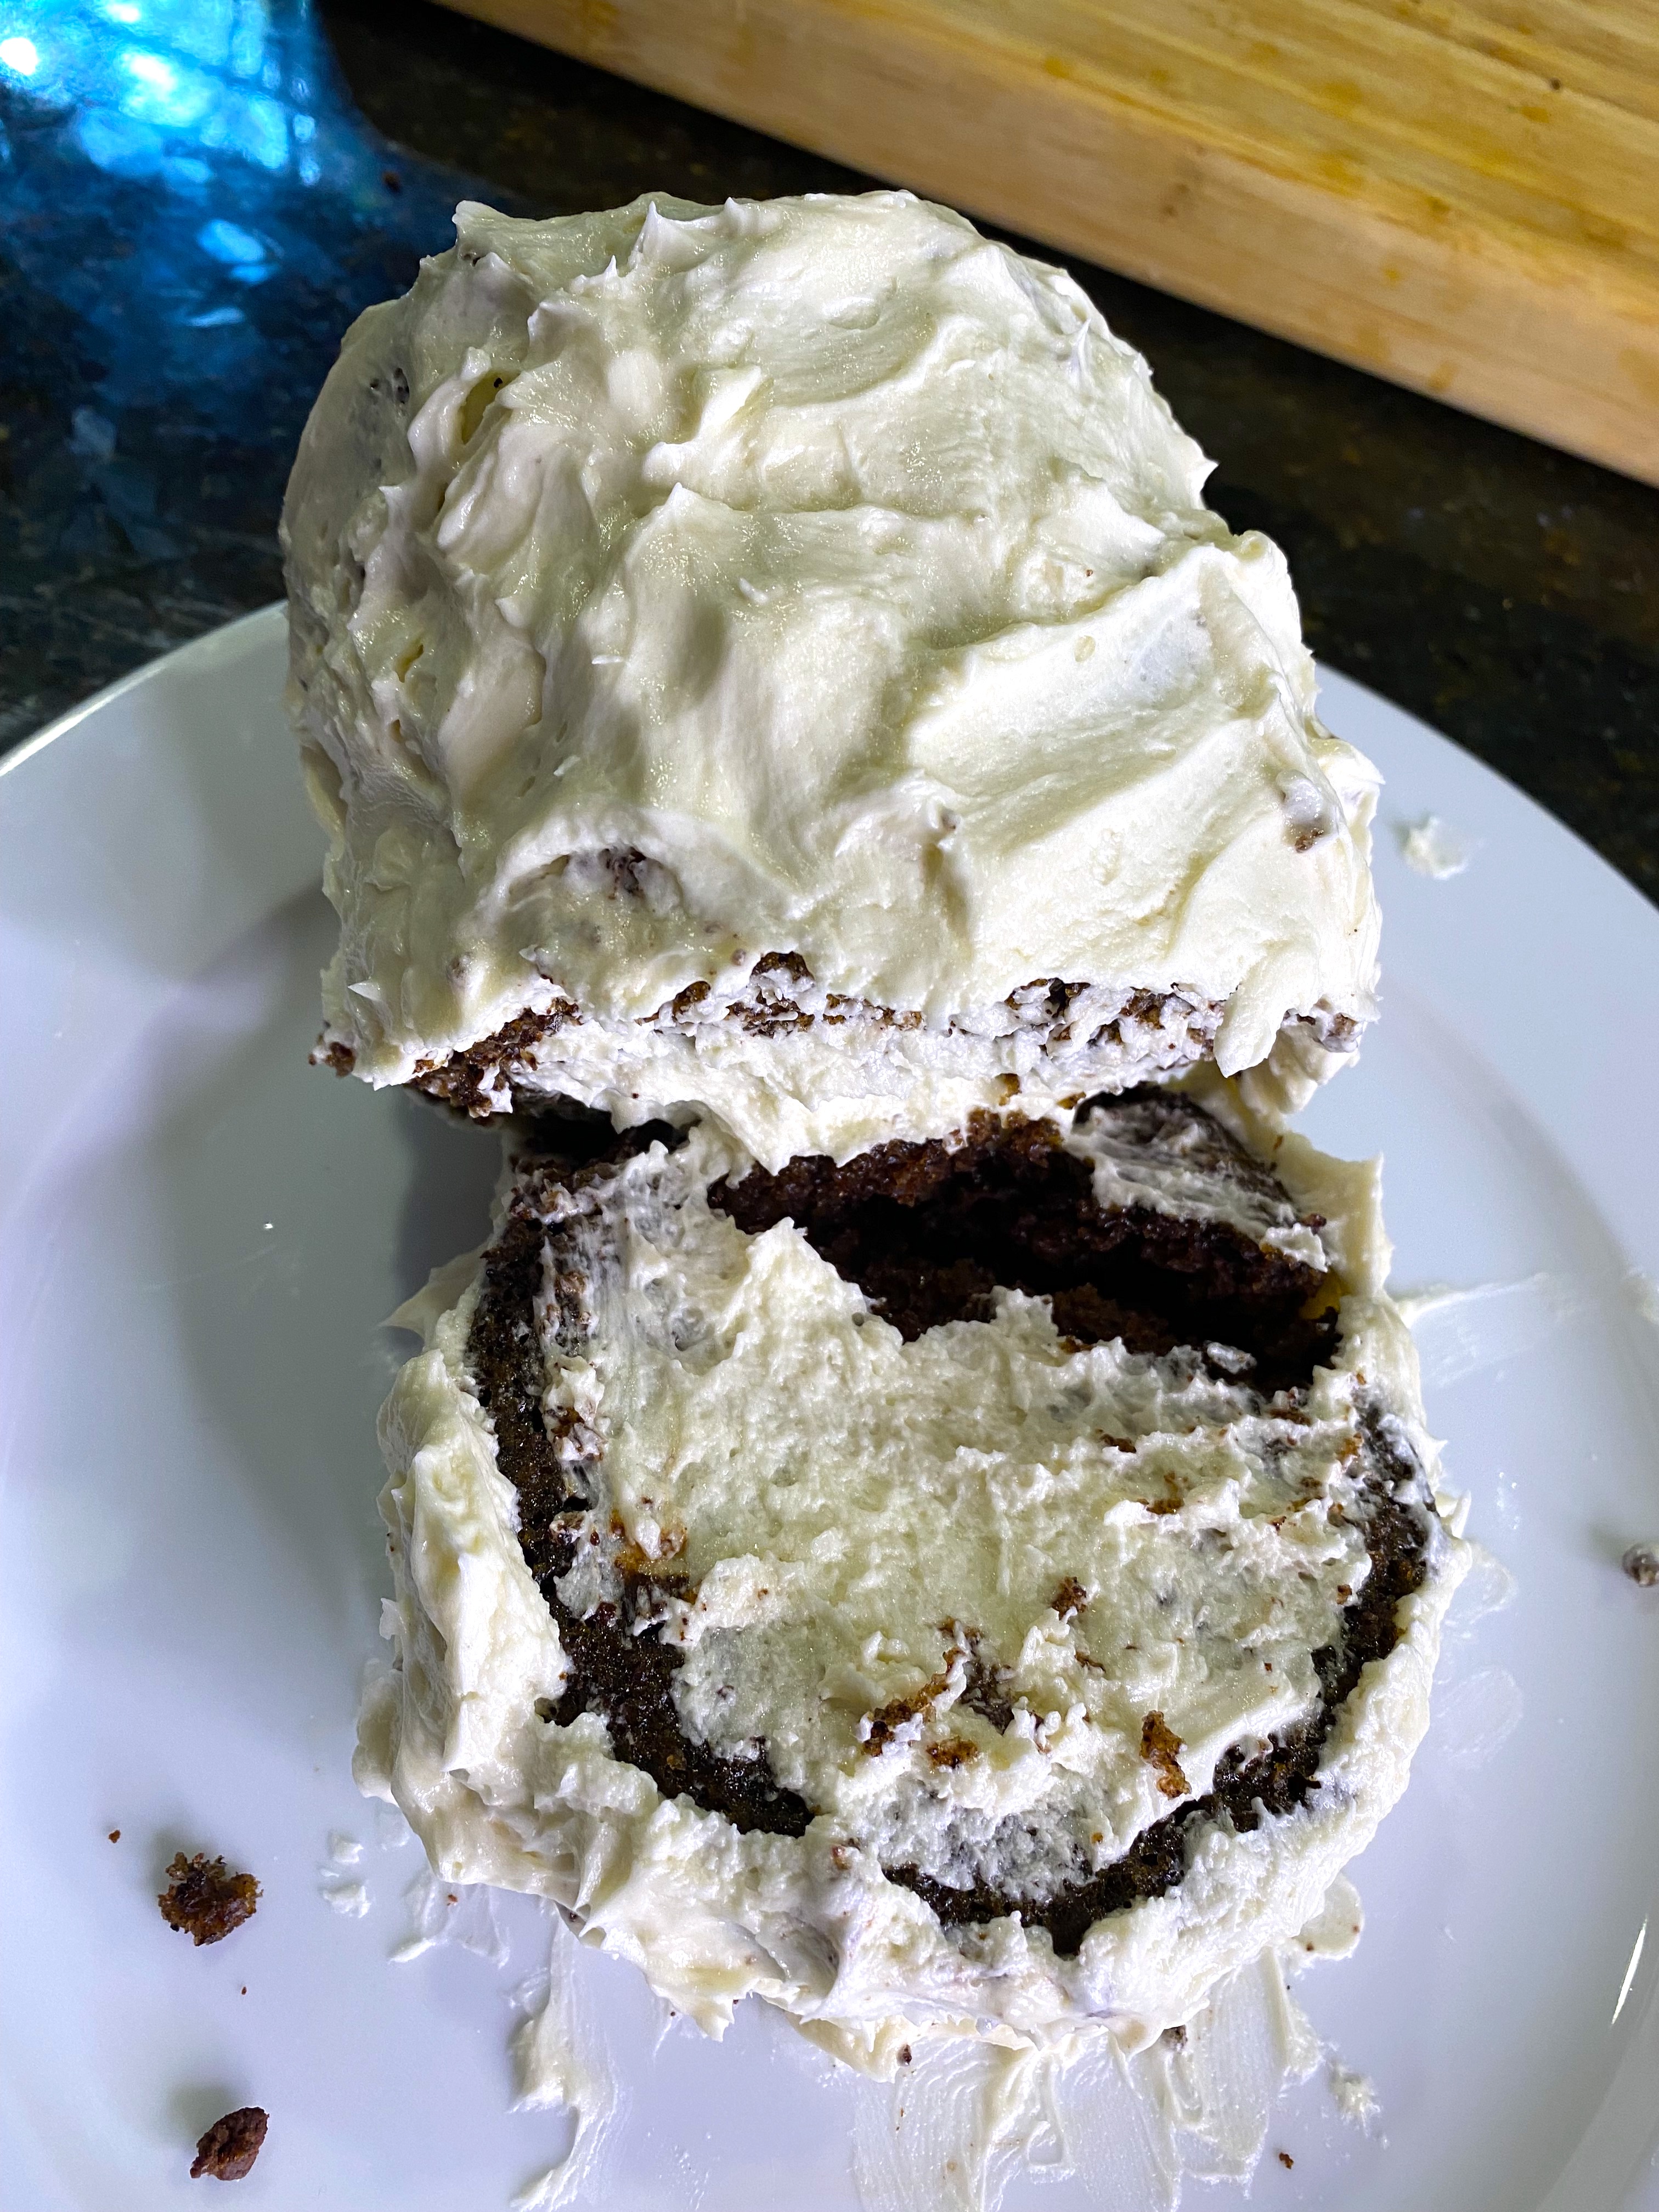
Yes, the bottom layer couldn’t handle the weight of the tower and it came crashing down!
What now?
Time To Rebuild!
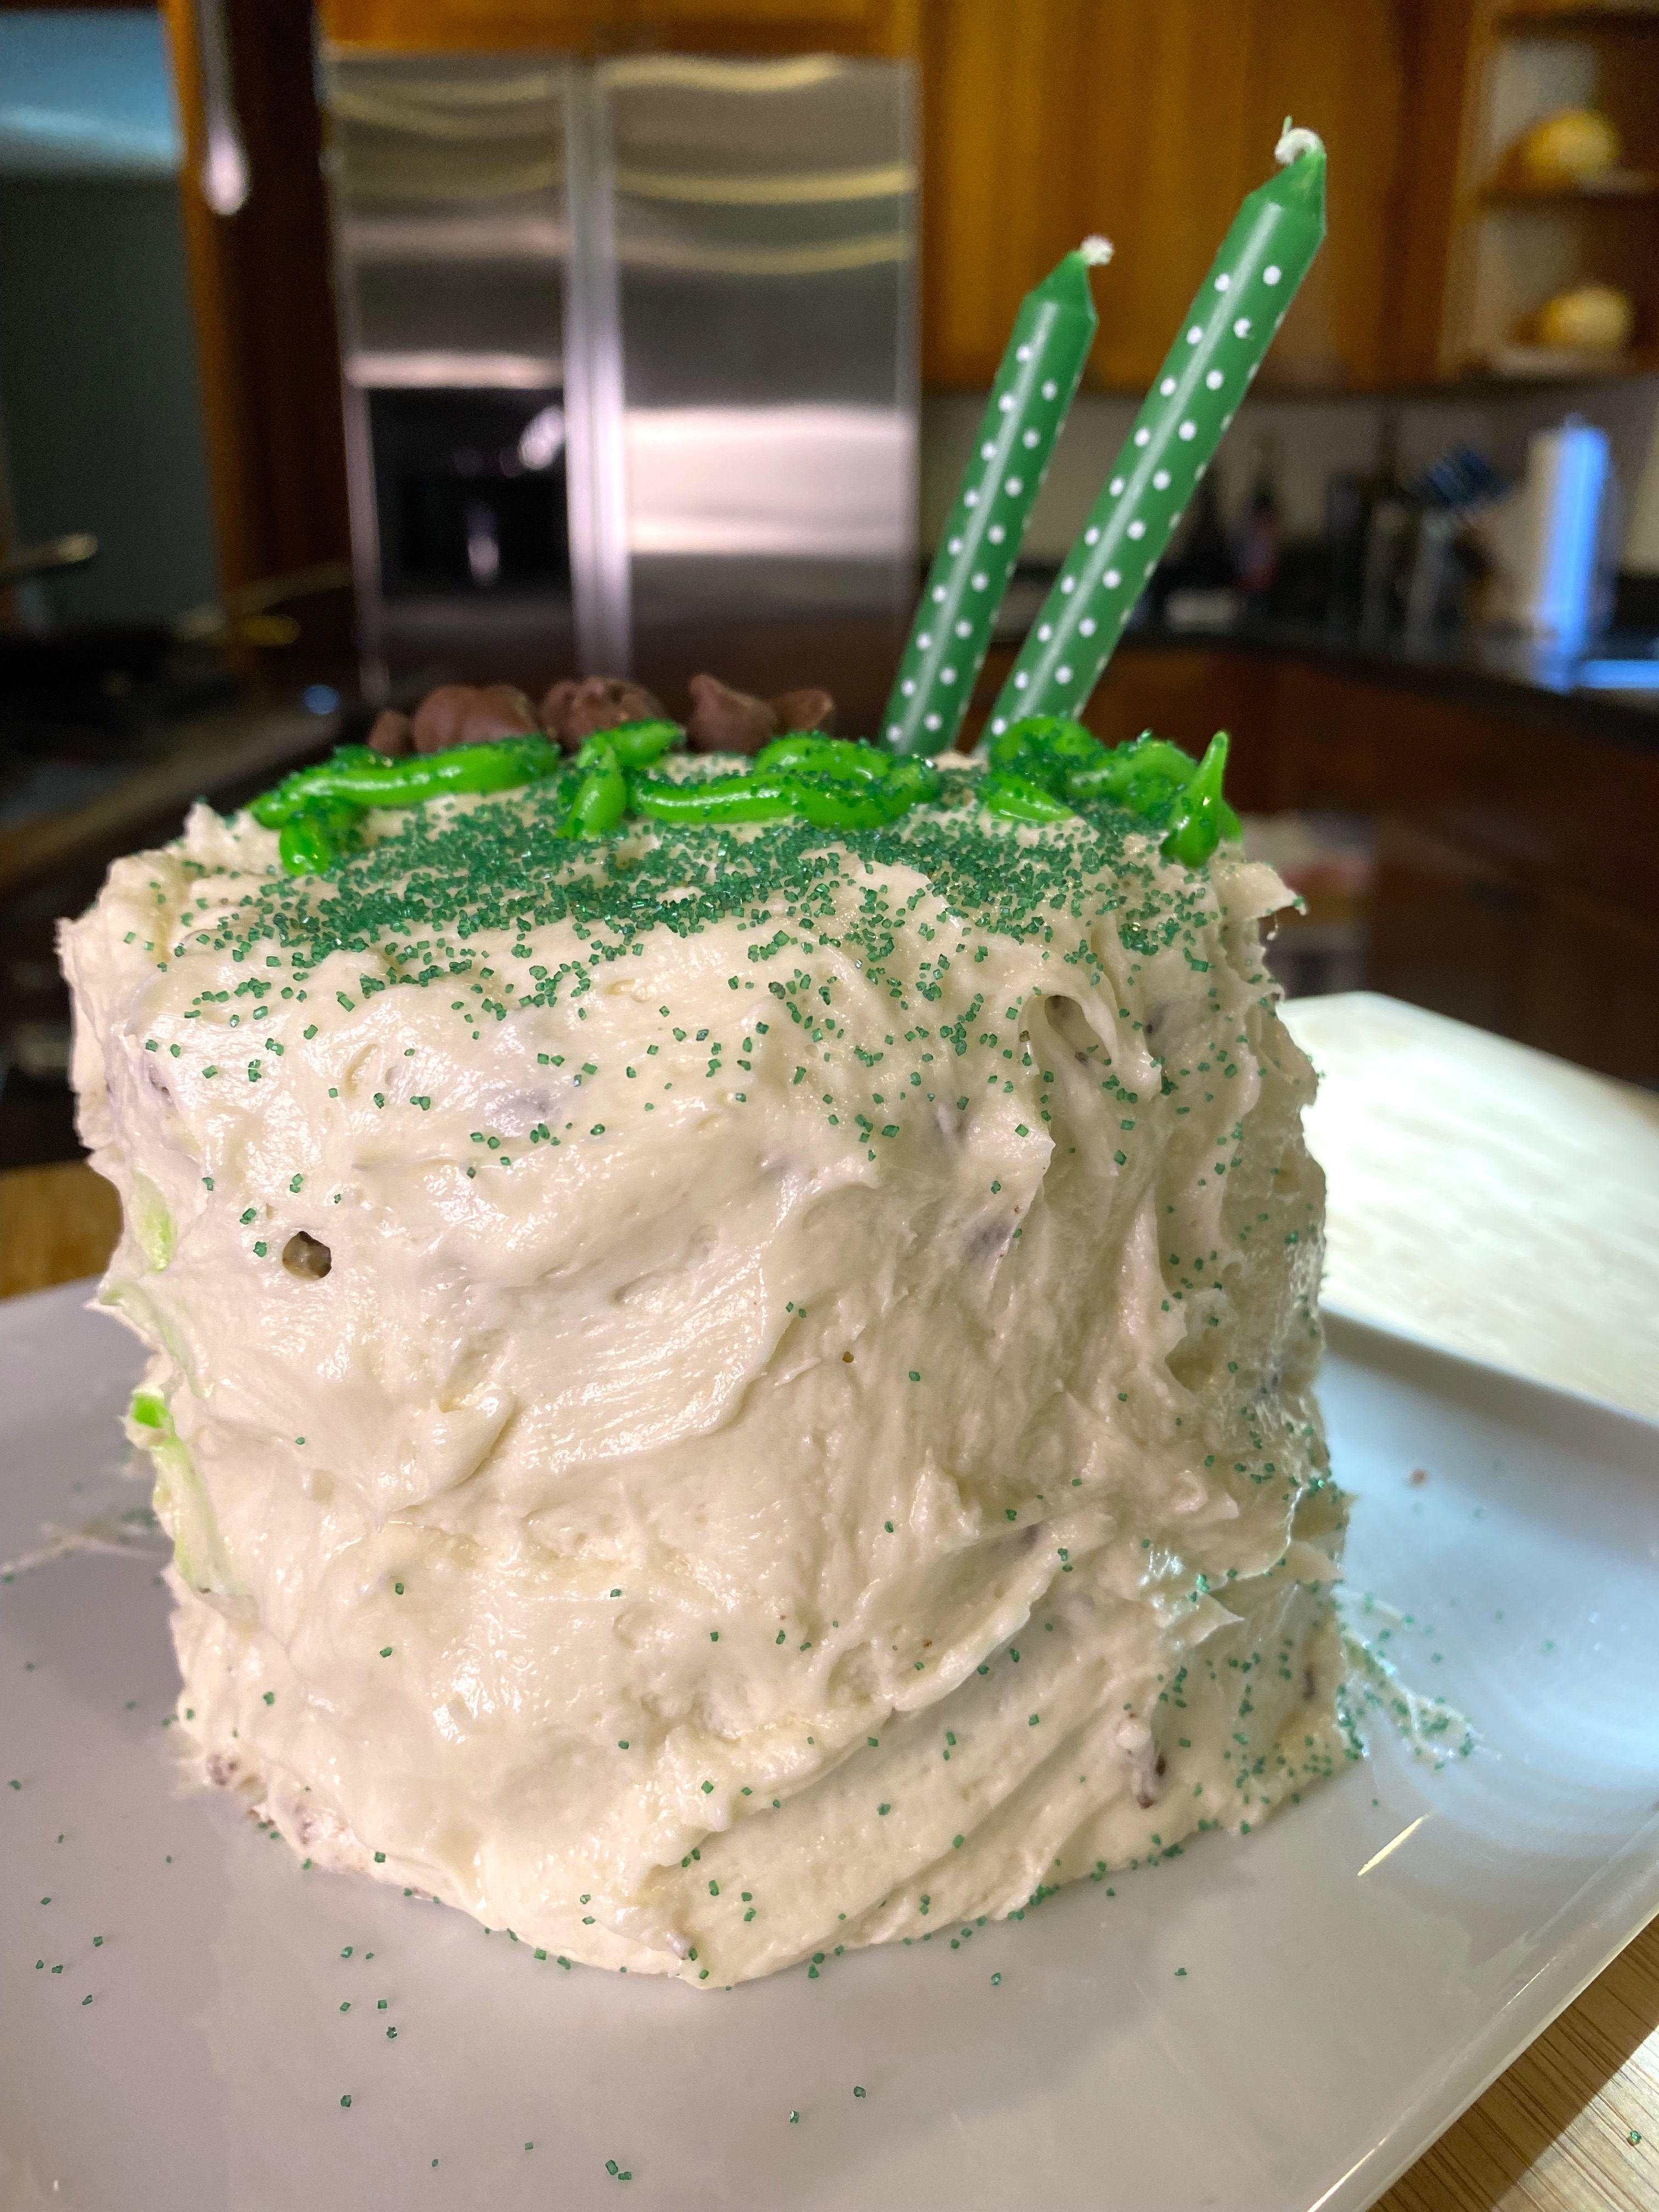
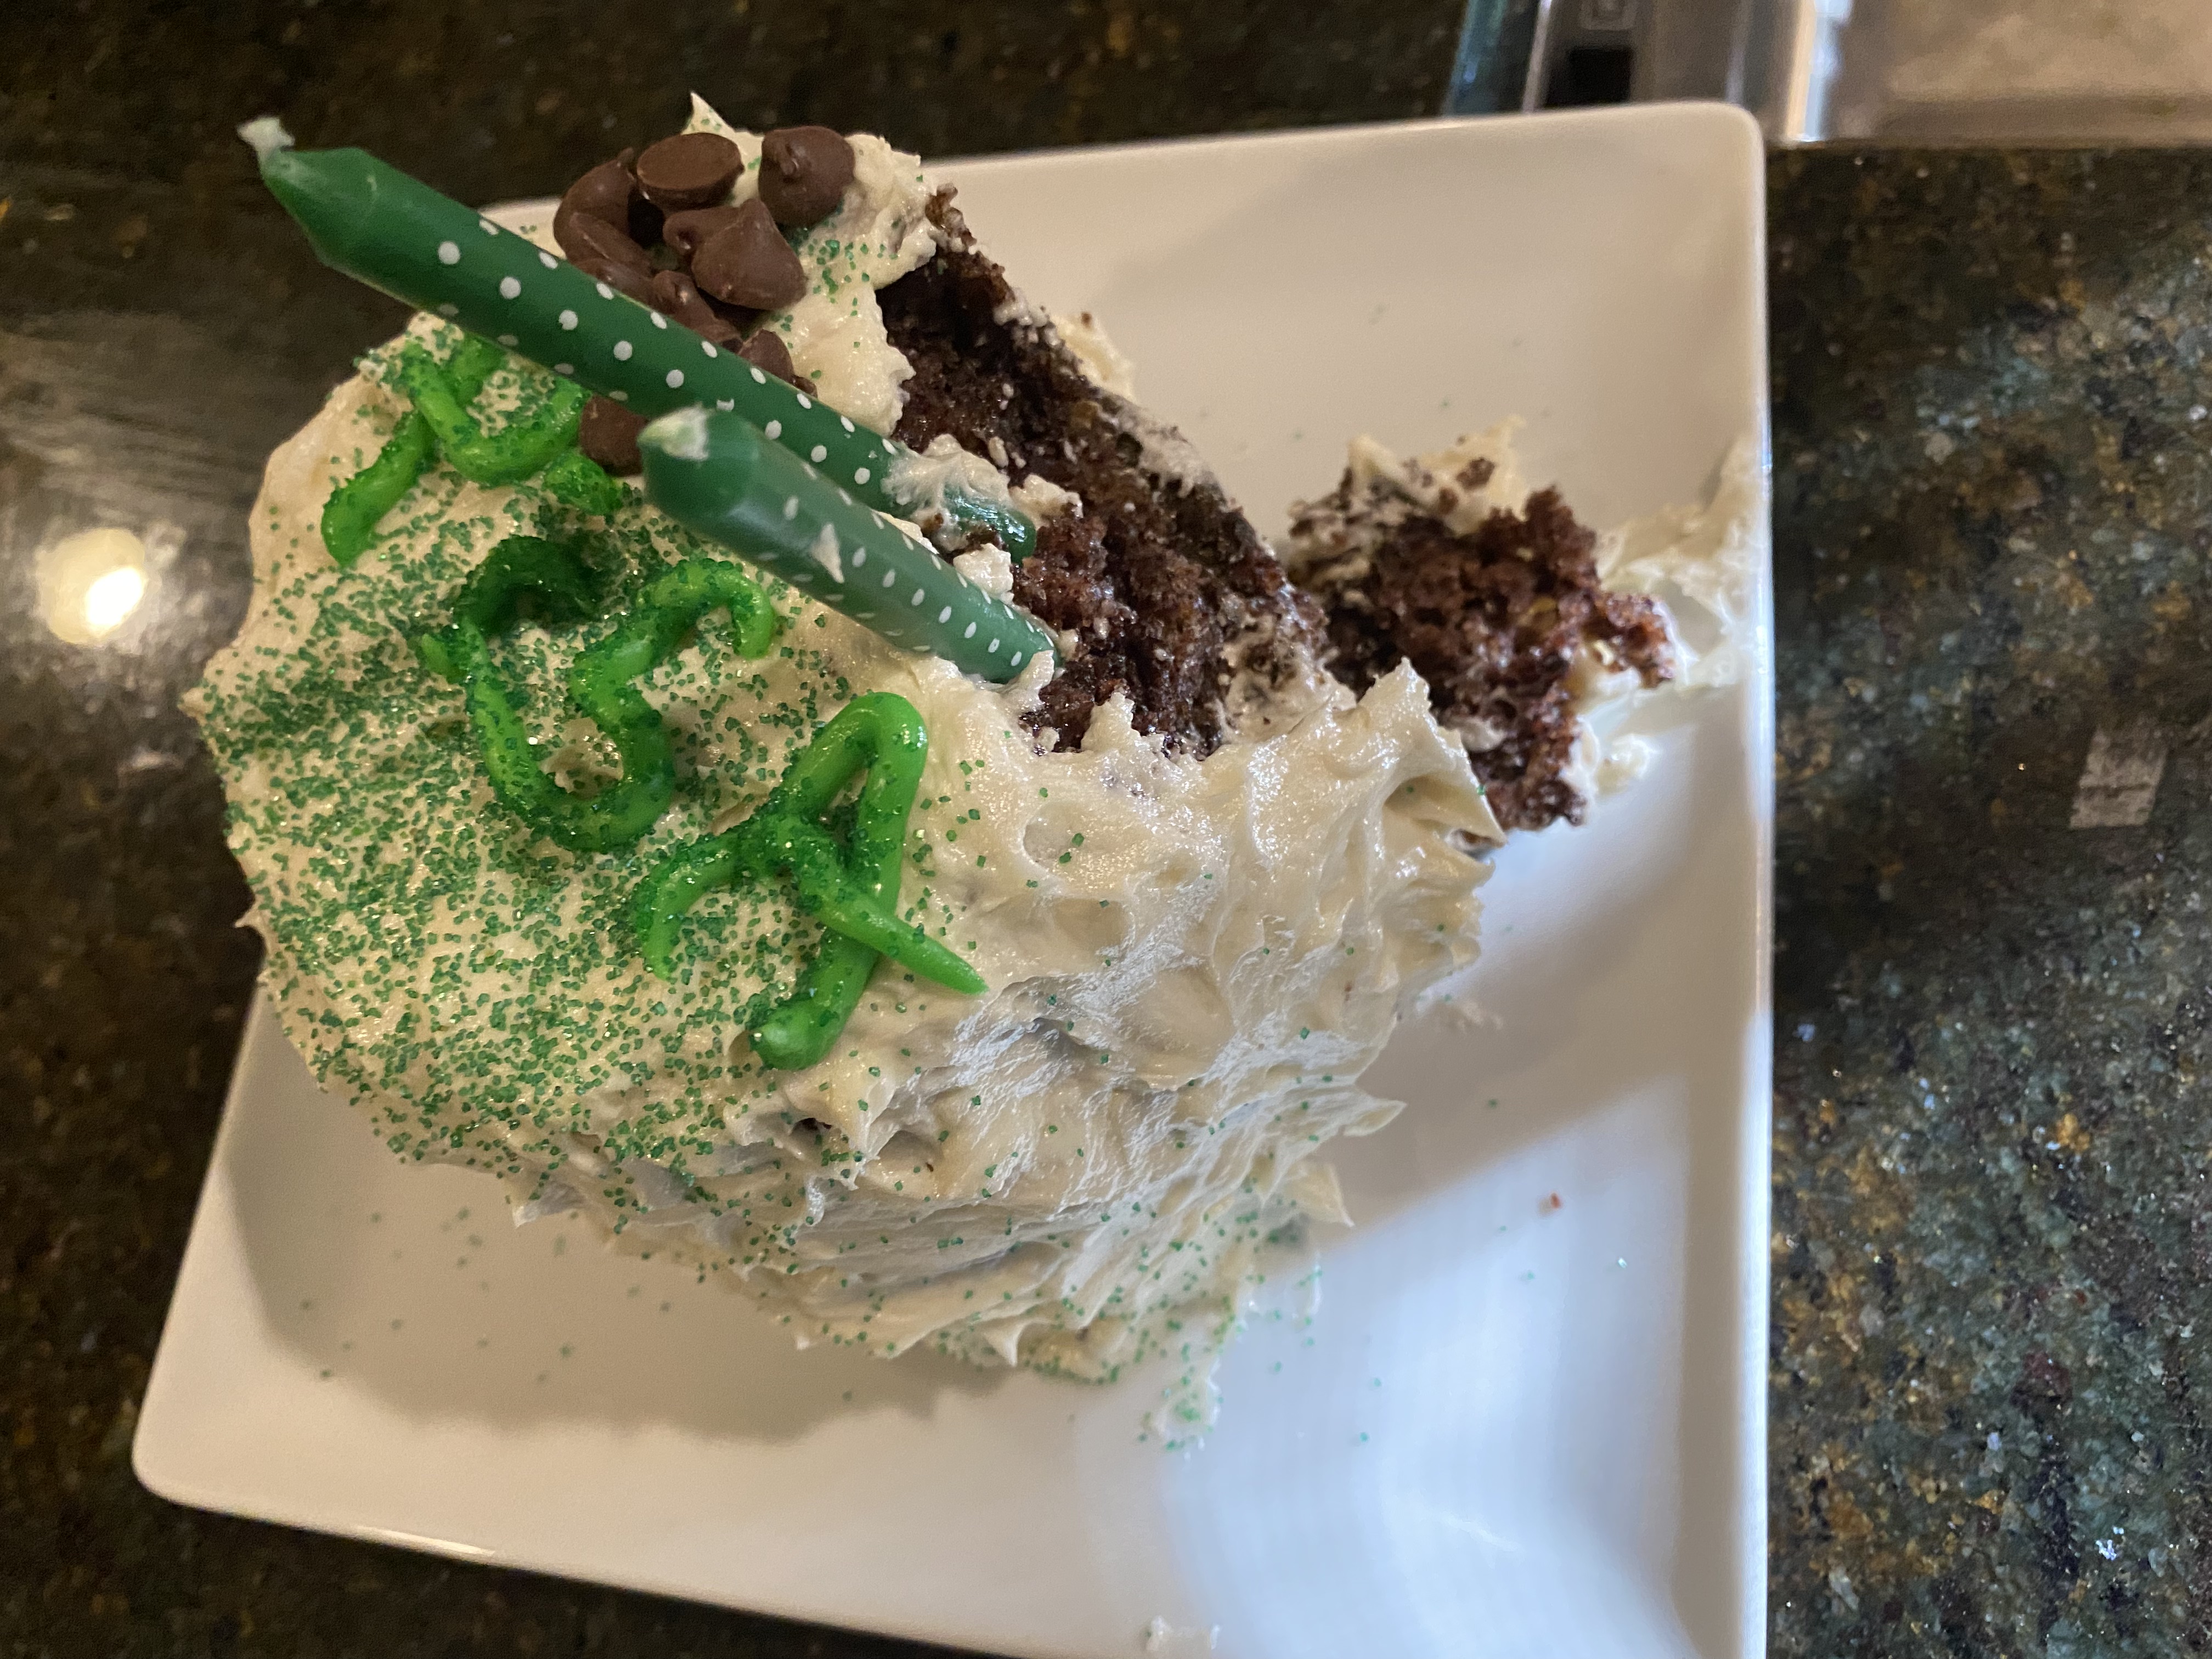
I took the top two layers off, discarded the bottom, and stacked the two remaining cakes once again, re-frosted as needed and then added some salted caramel chocolate chips and green sprinkles – Alex’s favorite color – and then I named the cake:

“The Leaning Tower Of Pisa” Birthday Cake!
Since it looked so much like the leaning tower, why not call it that?

First of all, bravo to “Cake By Courtney” – her cookbook is easy to follow, filled with tons of great photos, and lots of great recipes too!
The stacking disaster was my fault completely.
And one last “insult to injury”:
The two green candles I put in at the back promptly caused it to collapse, like a rockslide!
I patched it up as best I could, and now it was time to present:
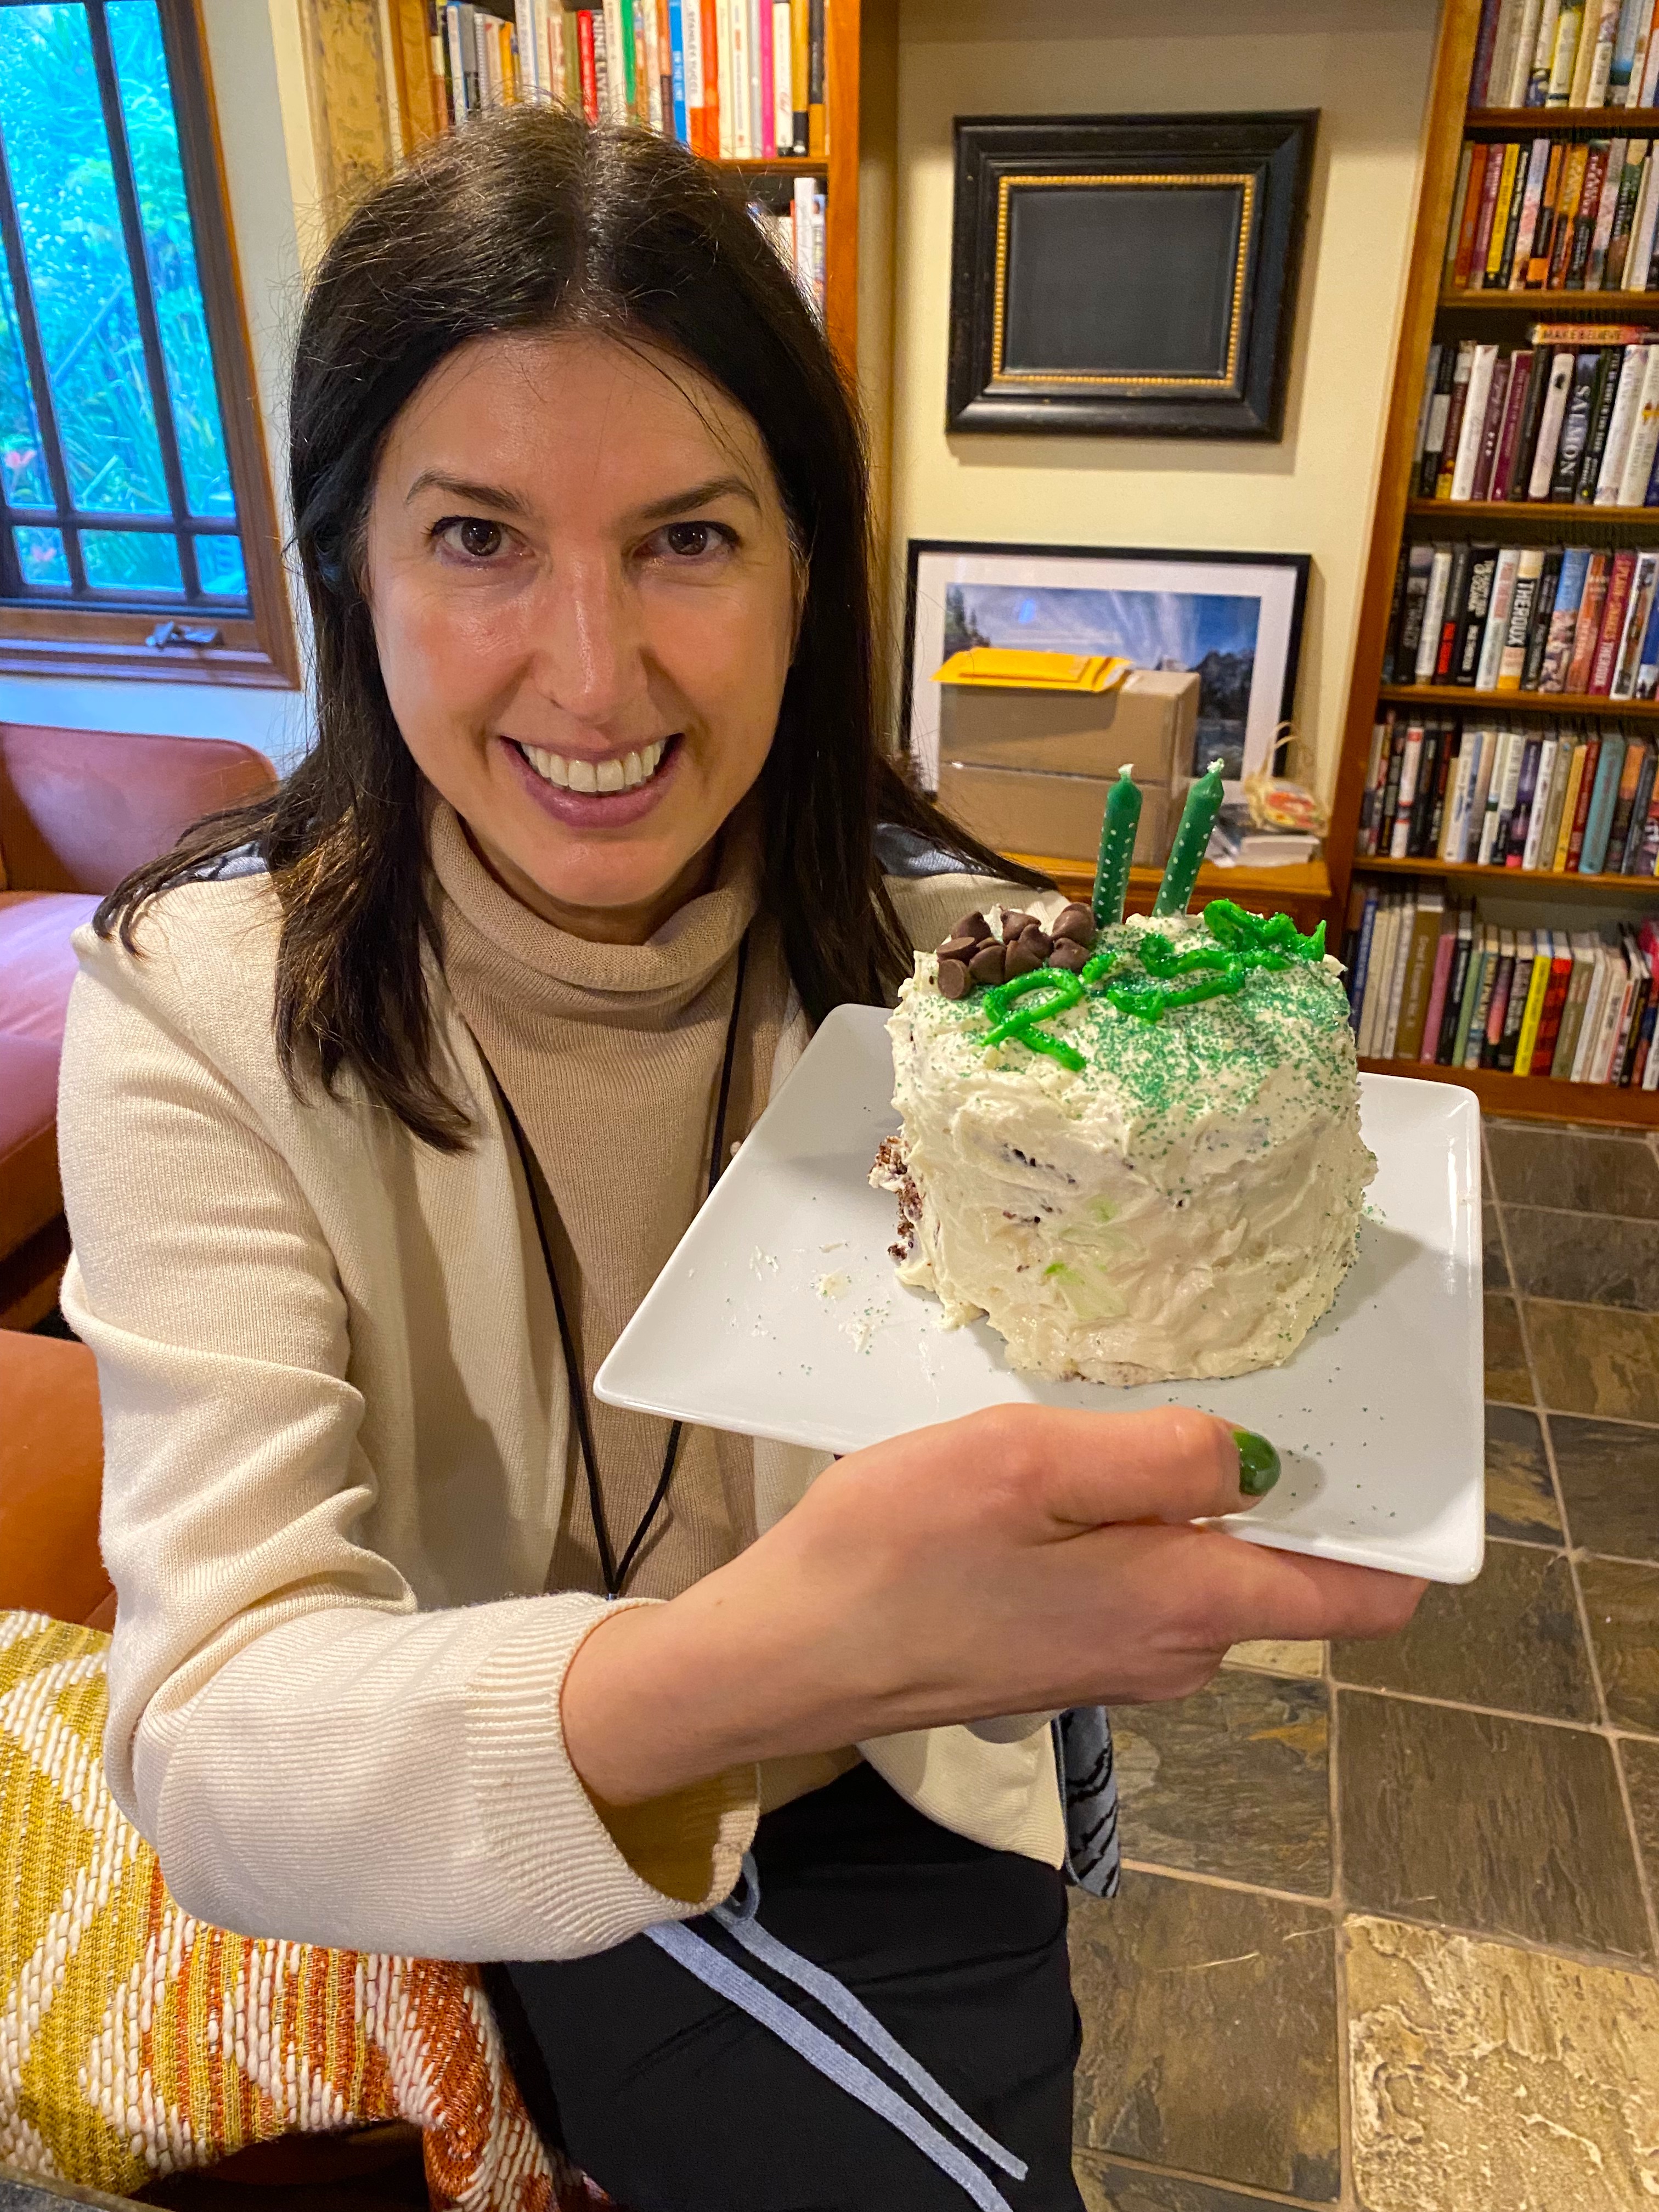
So there you have it: Alex was VERY generous about the presentation, and as for the taste, it was delicious!

The chocolate cake was rich but not sweet, the salted caramel buttercream frosting was delicious, and my sister happened to be in town, and he and her husband Bob gave it a “thumbs up” as well!
I rarely cook desserts, but during the quarantine of 2020, my wife and I did a series of #corntine recipes based on a stupid ordering mistake I made:
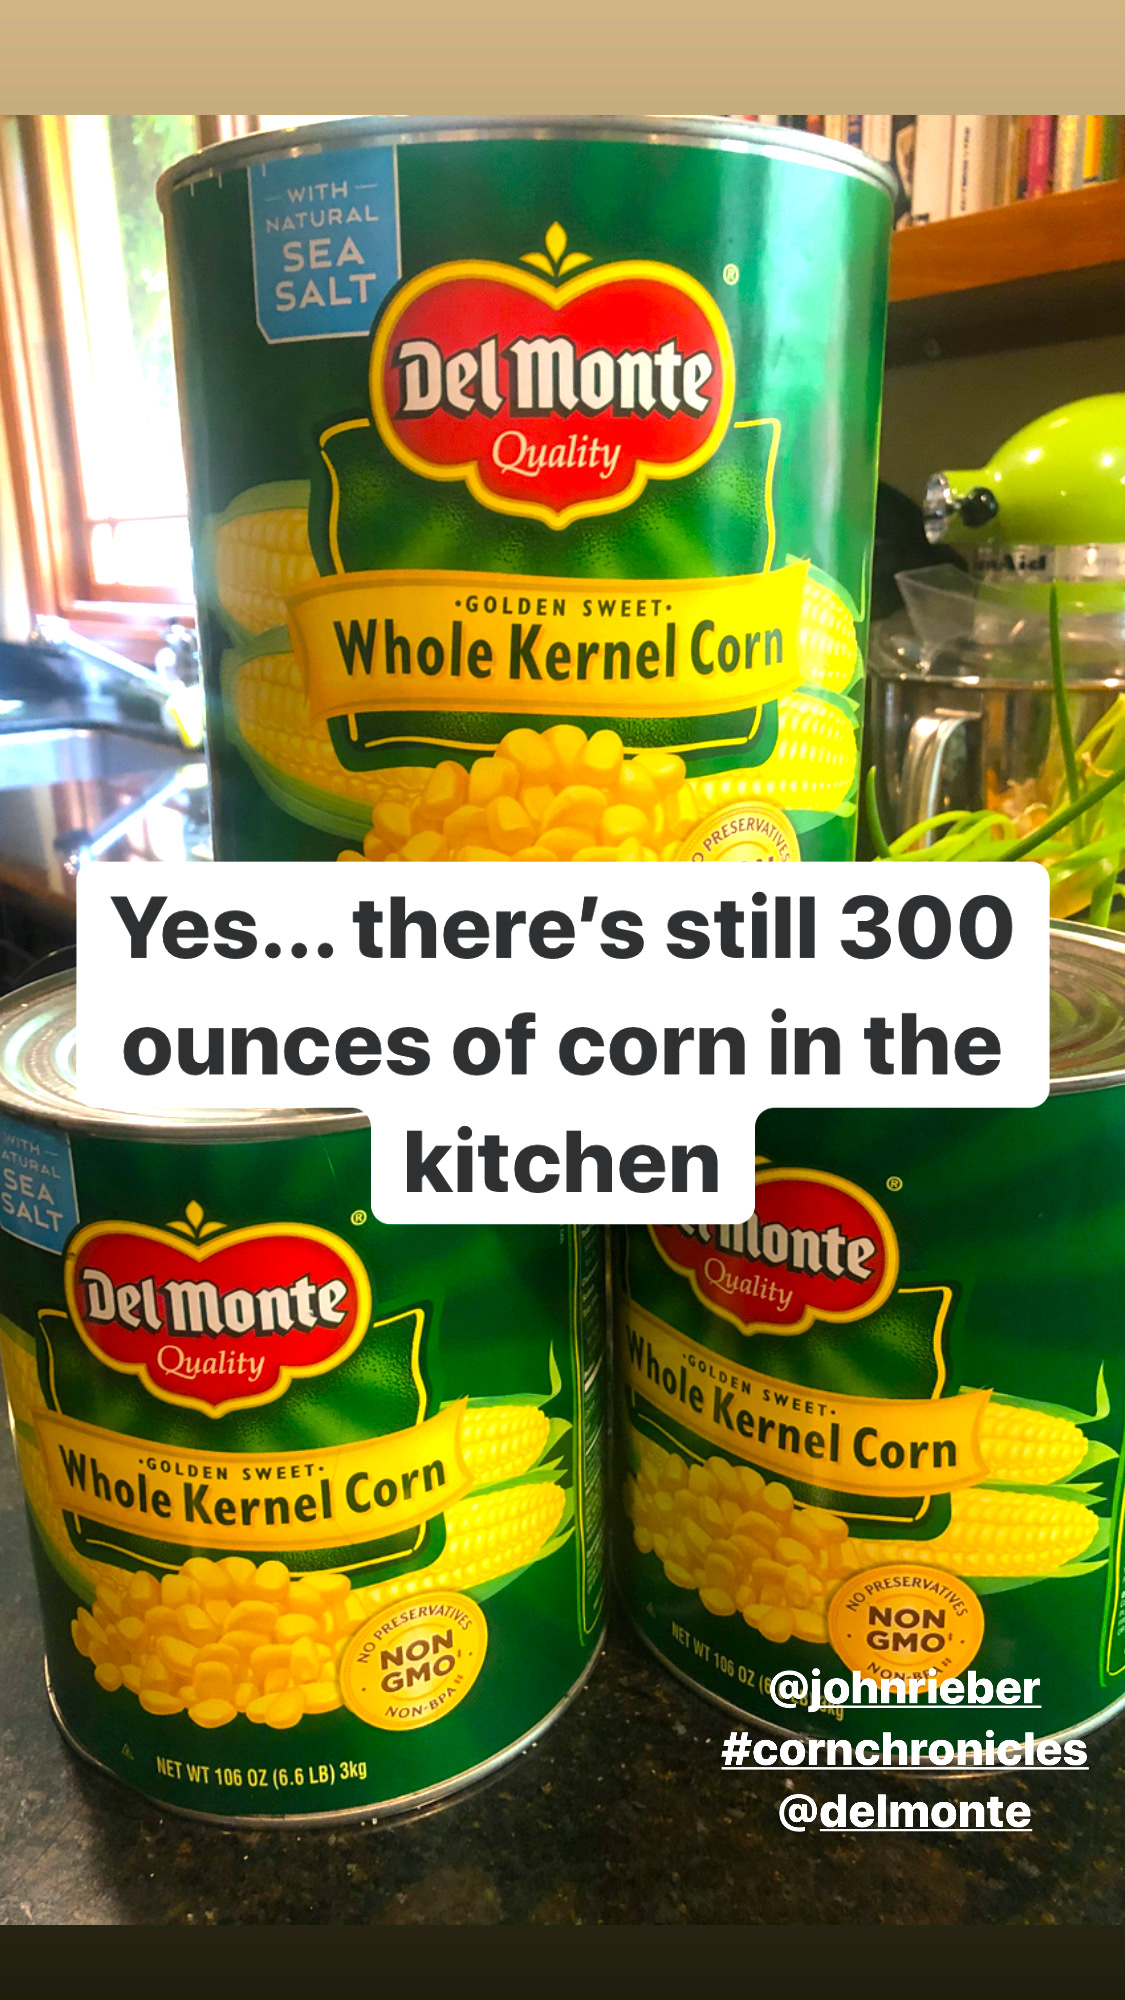
I thought I was ordering 10.6 oz cans 0but ordered 106 ozs instead!
So I made corn cookies and they were delicious! Here’s the recipe:
I you’ve been following along, you know that my “52 In 22” cooking challenge has gone around the world to see unique food lifestyles like this:

Yes I cooked “Izakaya” – Japanese Pub food!
Click here to see all of the fun recipes:
I am trying food from around the world and from different eras as well:

for more than 100 years, Musso & Frank restaurant in Hollywood has served up these classics – click here to see how easy and fun they are to make:
If you enjoy these posts, why not subscribe and never miss out? It’s easy, and there are NO ads of any kind, just stuff I like – from music to movies, books, travel, food and more…click on the main page and “follow” me on the upper right…

As for my “52 Cookbooks 52 Recipes” challenge, I am sharing and storing all of these recipes on my food website “Bite! Eat! Repeat!” – it’s your site for all things food – if you like what you see, please click on my link and follow this blog as well!
Let me know what you think of my “52 In 22” challenge!
If you like the story, share it with friends on social media! Thanks!
Categories: Art, cookbooks, Food, food blog, Food Review, Memoirs, Recipes, Wacky Food

Your humble cake was delicious, I could tell. Good for you showing us the challenges ! It made your post authentic. Julia C. would be proud of you.
LikeLiked by 1 person
Well, I have vowed to show whatever happens, no matter how disastrous! Thanks for the words of support!
LikeLike
A labour of love that means presentation is secondary. Alex loved it, and it tasted great. What more do you need?
Best wishes, Pete.
LikeLiked by 1 person
Thanks Pete, she loved it and it was a funny, deliciousness!
LikeLiked by 1 person
John, this is my favorite baking story. It’s real, a labor of love, and still tastes wonderful. Just look at Alex’s big smile! Cheers to the leaning tower of Pisa birthday cake!
LikeLike
brilliant ending to this one! it still looks and sounds delicious and the story makes it even better. thanks for the corn update, I’ve been seriously wondering….
LikeLike
Happy birthday to Alex! How great you are as the husband and baker👍
I hear you about the frosting…when decorating cake, I always admire how pastry chef are well trained to make the cake extra beautiful😌
P.S…love the name of the cake😂👍✨
LikeLike
It was delicious, John!! I’m saving the recipe to try it myself, but will go easy on the towers!!
LikeLiked by 1 person
Robbie told me that a “softer” cake like this should be larger to take weight off the upper layer and probably double layer is the most you should try!
LikeLiked by 1 person
Double sounds good, in a larger size. This cake is definitely worth a try!
LikeLike
I have to say my mouth is watering, it sounds delicious. Stacking cakes is always hard and how many people get a leaning tower of Pisa for a birthday cake. Thumbs up all around.
LikeLiked by 1 person
Thanks for your generosity Darlene – even though it ended in a failure, it did taste great and Alex is always generous with her praise!
LikeLiked by 1 person